
How it works
Your remodel, step by step.
A typical existing-pool remodel moves through ten phases. Here is what happens in each, so nothing about the process is a surprise.
Sequence and timing vary with scope, permits and weather, and phases often overlap. Your contractor will give you a schedule for your own project.
Phase 1
Design, permits and prep
The plan is settled before anything is touched.
- Site visit, measurements and a final design with new features marked out
- Permit applications for the pool, electrical and any plumbing for water features
- Selection of pavers, stone, coping, interior finish and furnishings
- Furniture moved out of the work zone and landscaping you are keeping protected
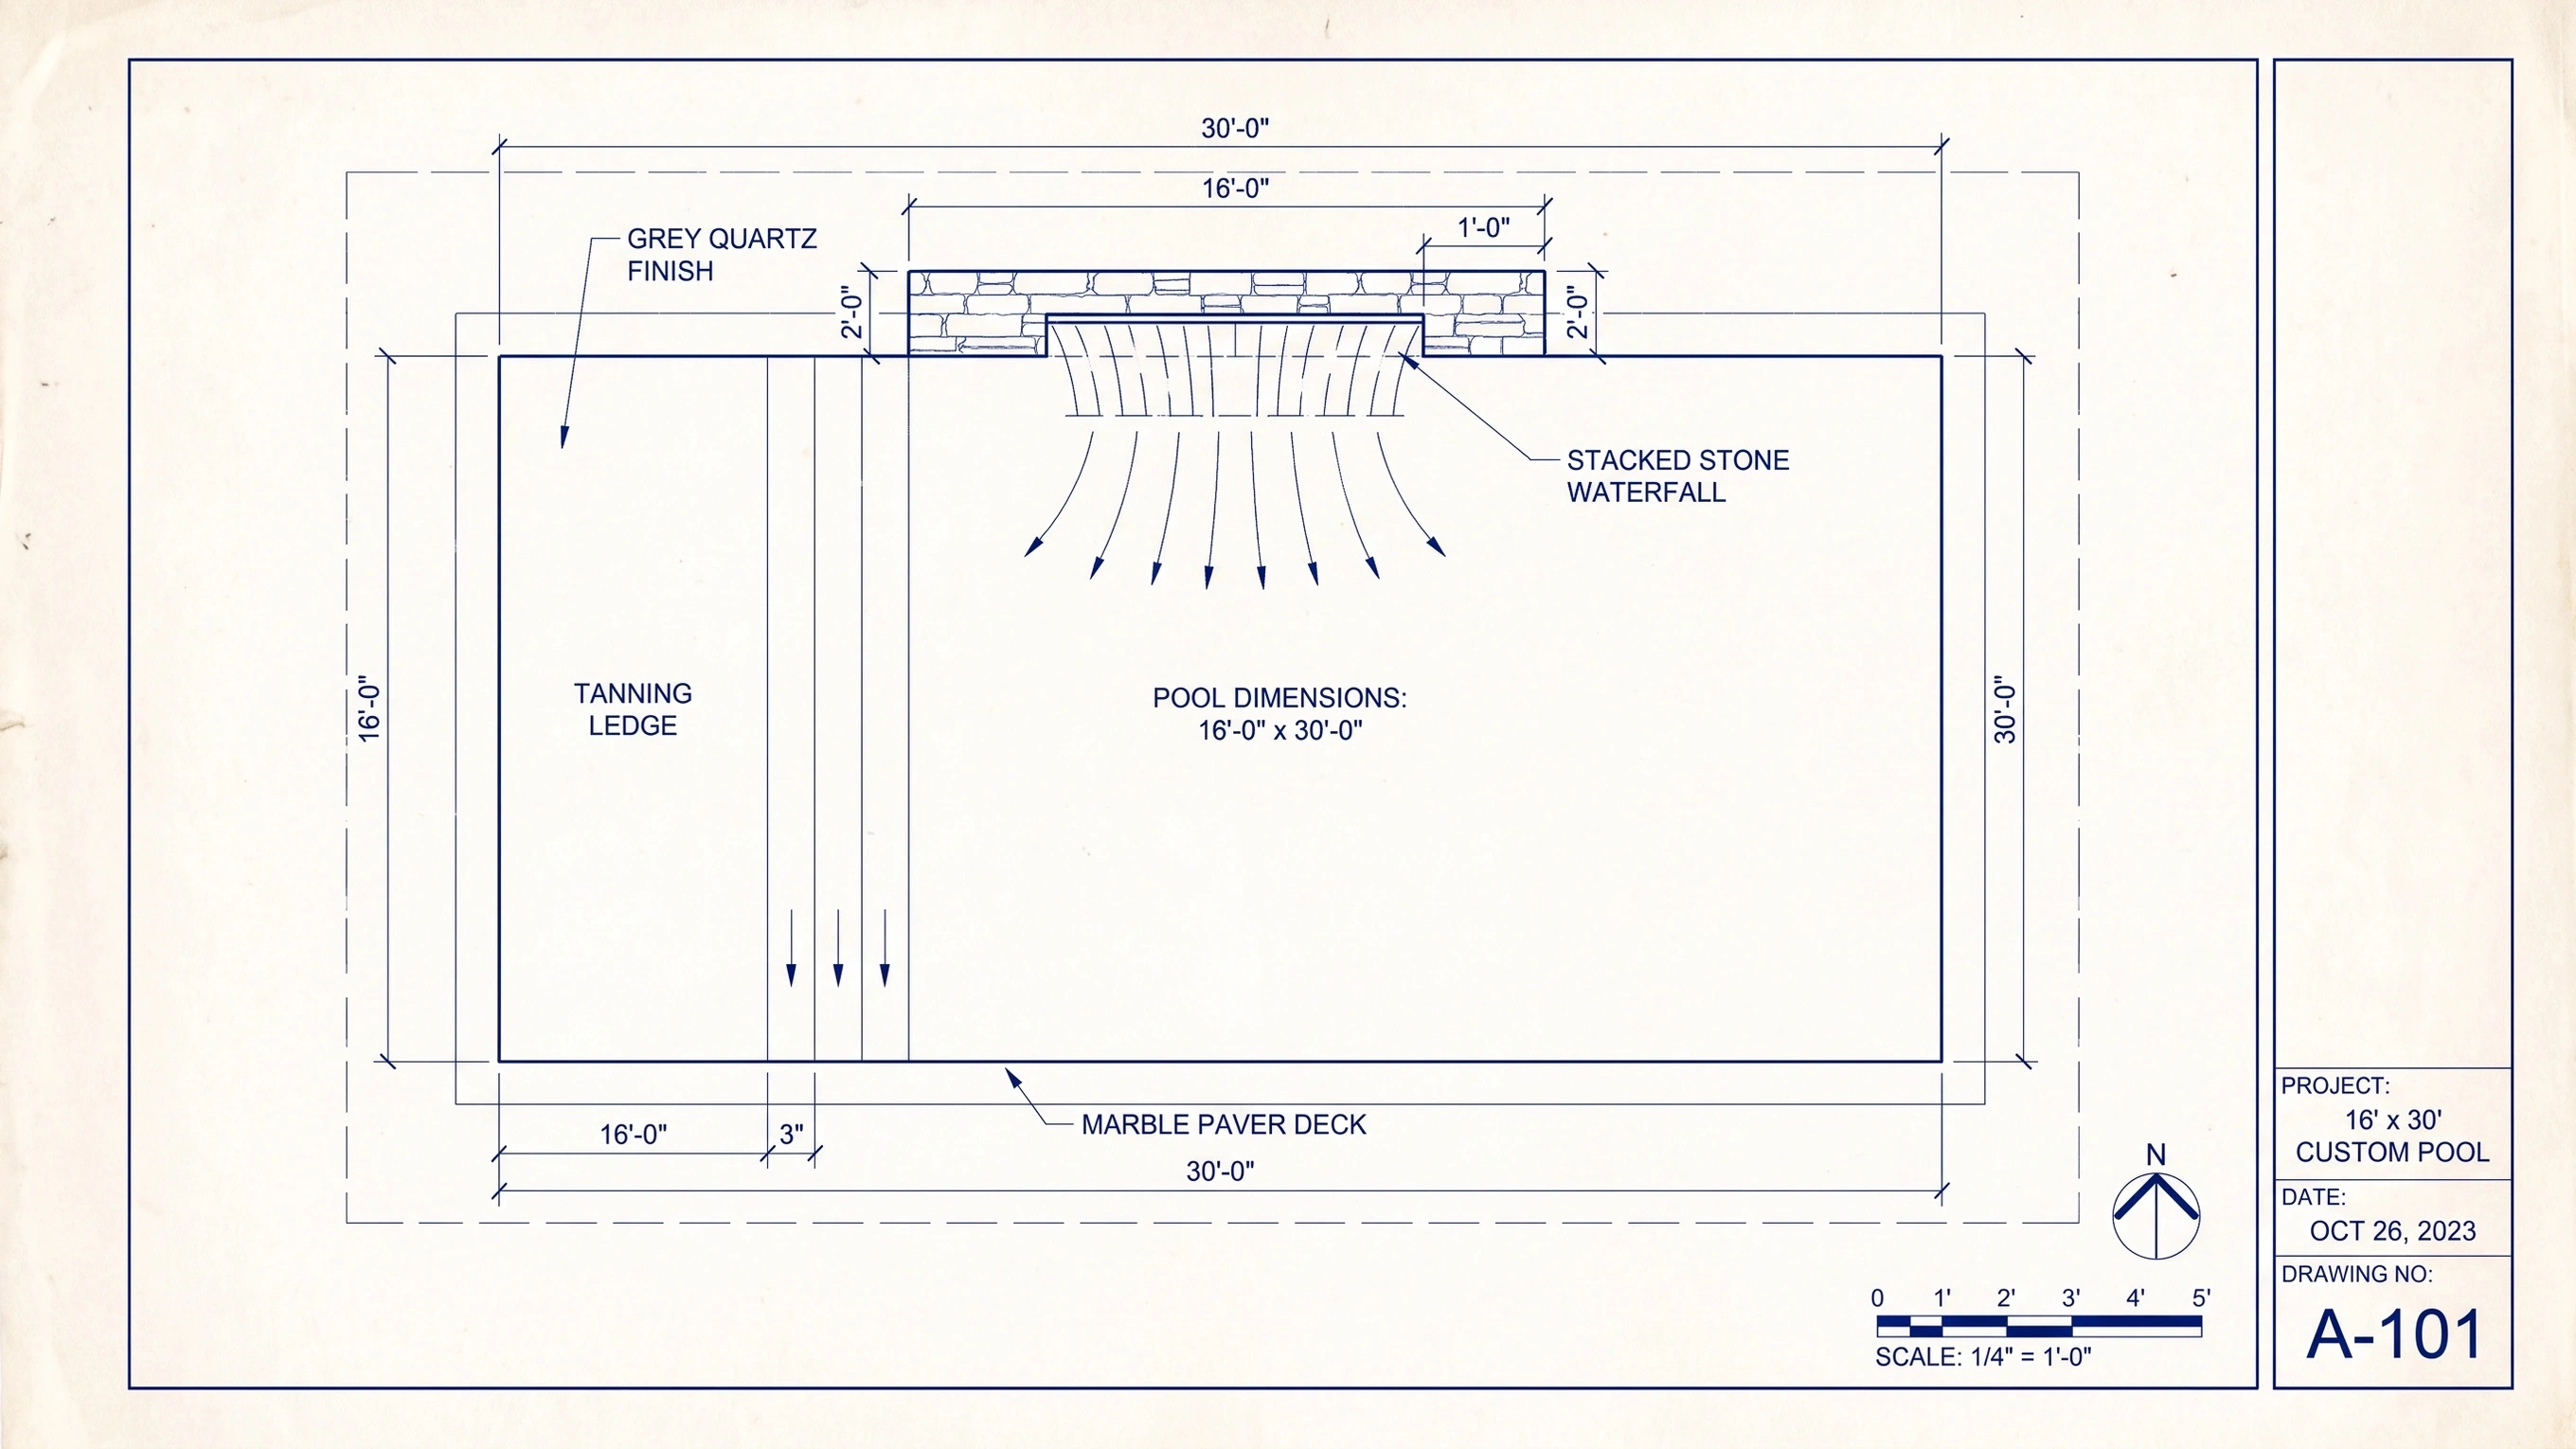
Image 1Planned pool layout with tanning ledge, waterfall wall and surrounding deck Phase 2
Draining
Only when it is safe for your pool and site.
- Equipment shut off and water tested and treated as local rules require
- Water pumped to an approved discharge point, never to storm drains or neighbors
- Groundwater conditions assessed before any emptying
Draining is done only by qualified pool professionals. A high water table can damage or float an empty pool, so timing and weather matter.
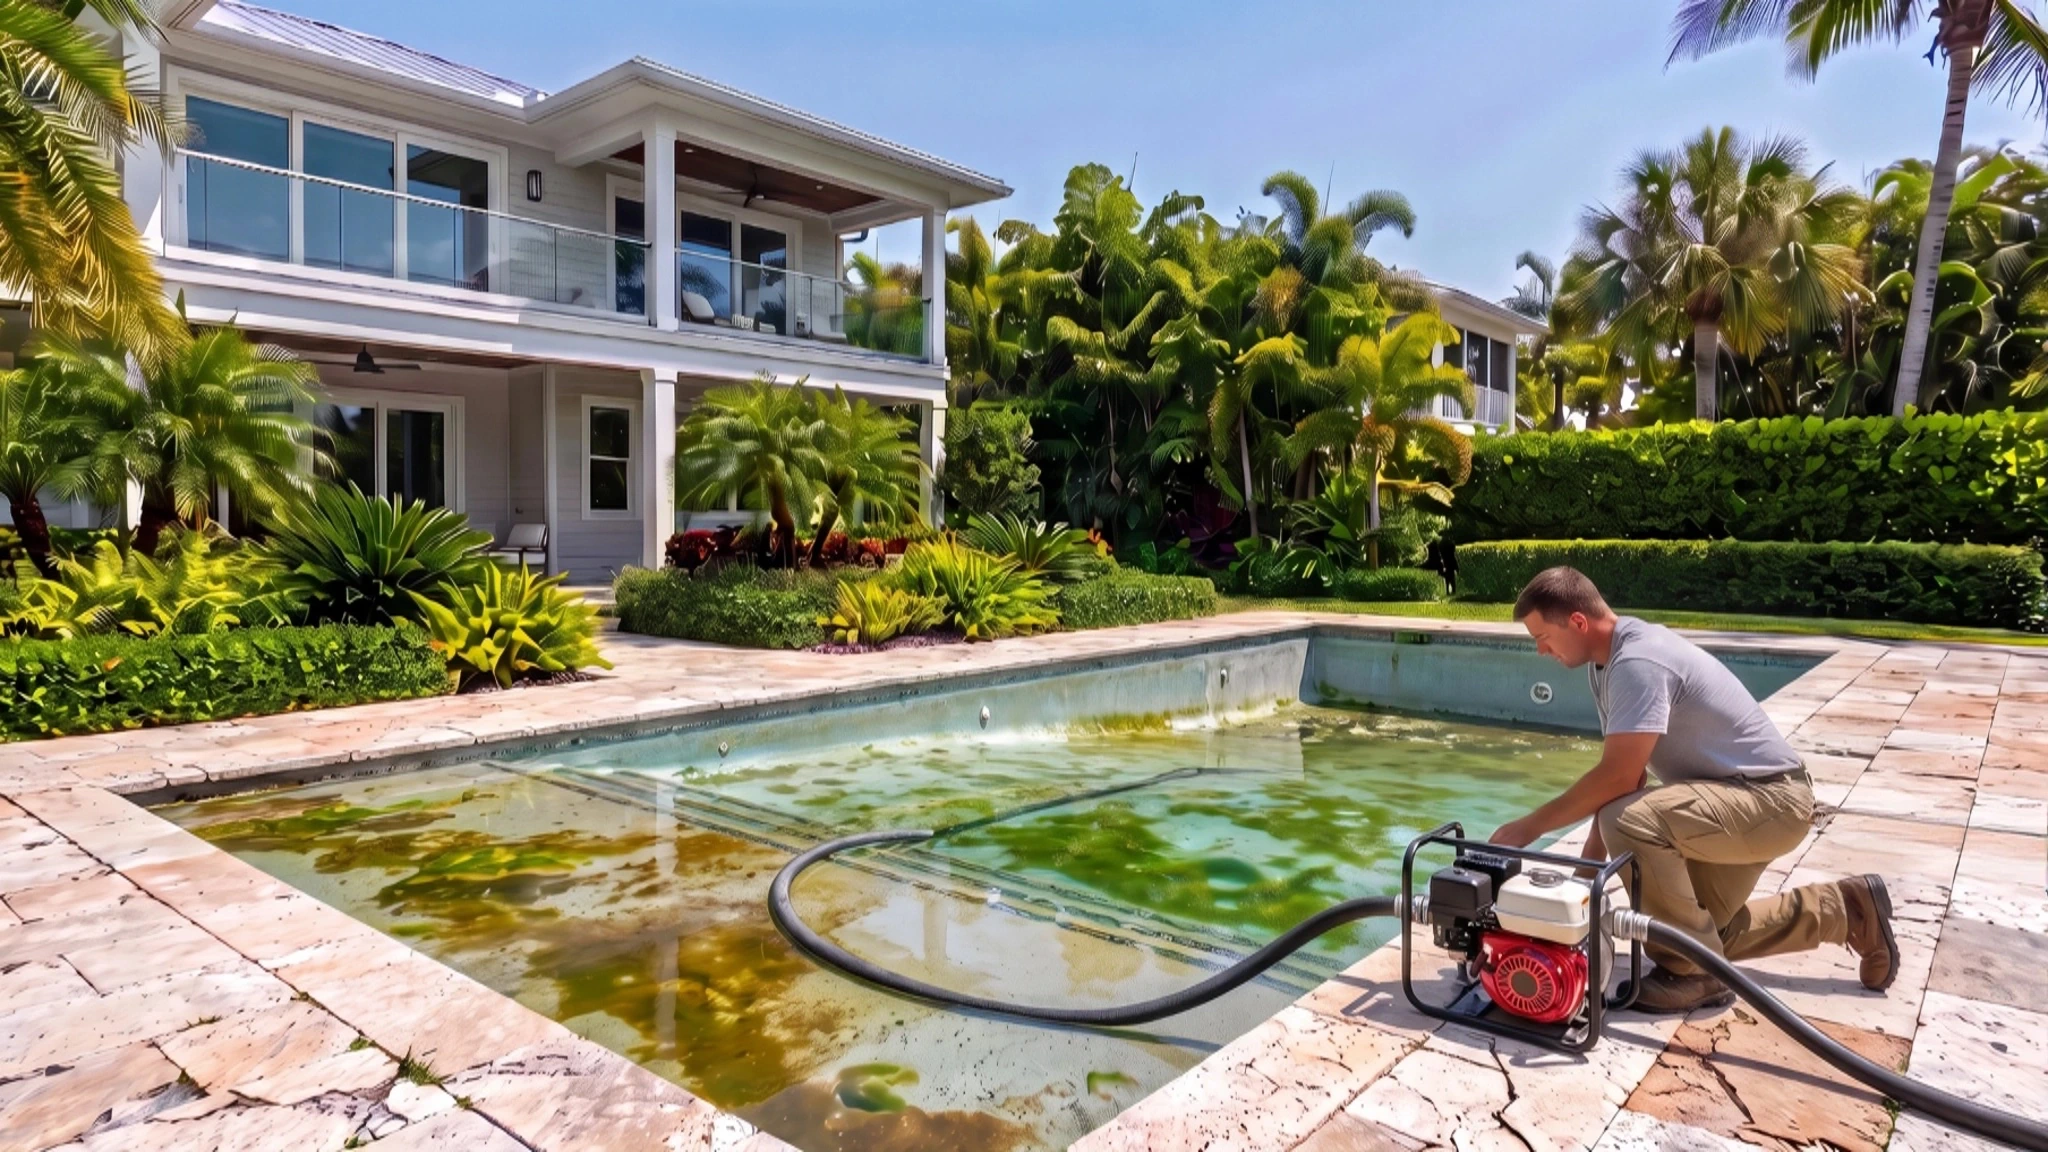
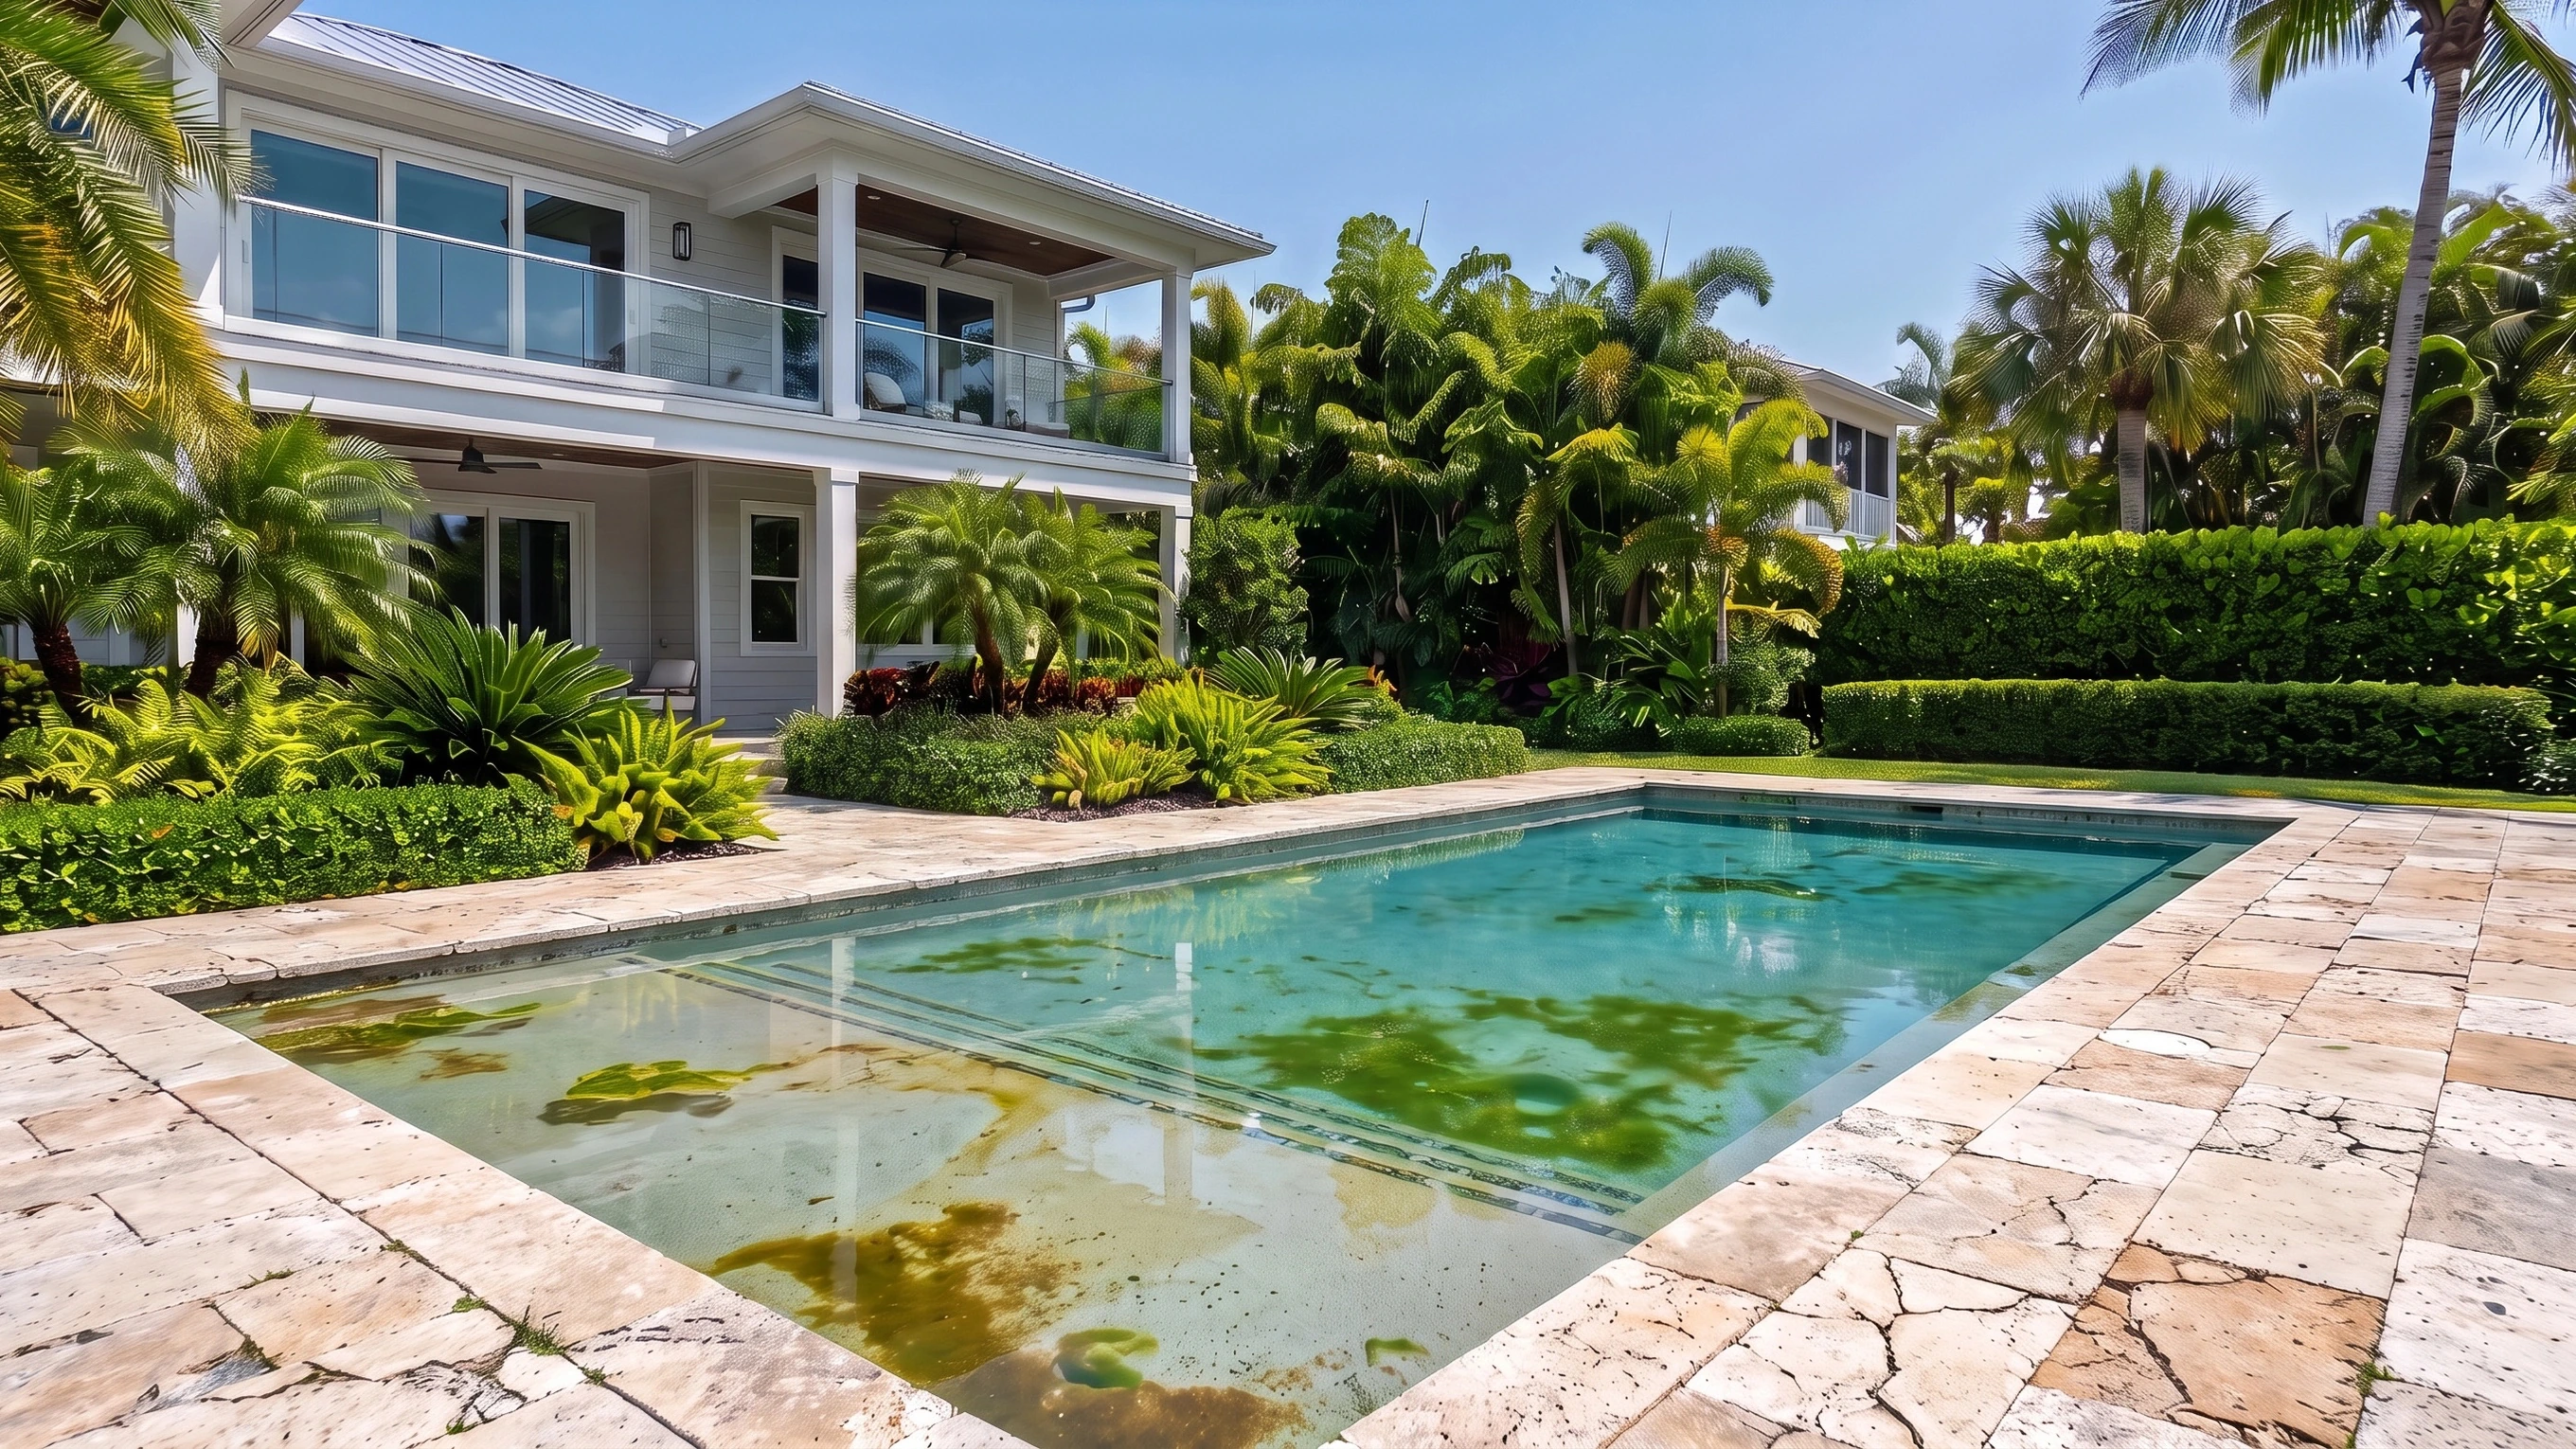
Image 2Pool partway drained Phase 3
Deck demolition
Worn decking is removed and the ground underneath is fixed.
- Old pavers and mortar bed broken up and hauled away
- Base checked for settling and drainage problems
- Grade corrected to direct runoff toward approved drainage and protect structures
- New base and drainage engineered to your site
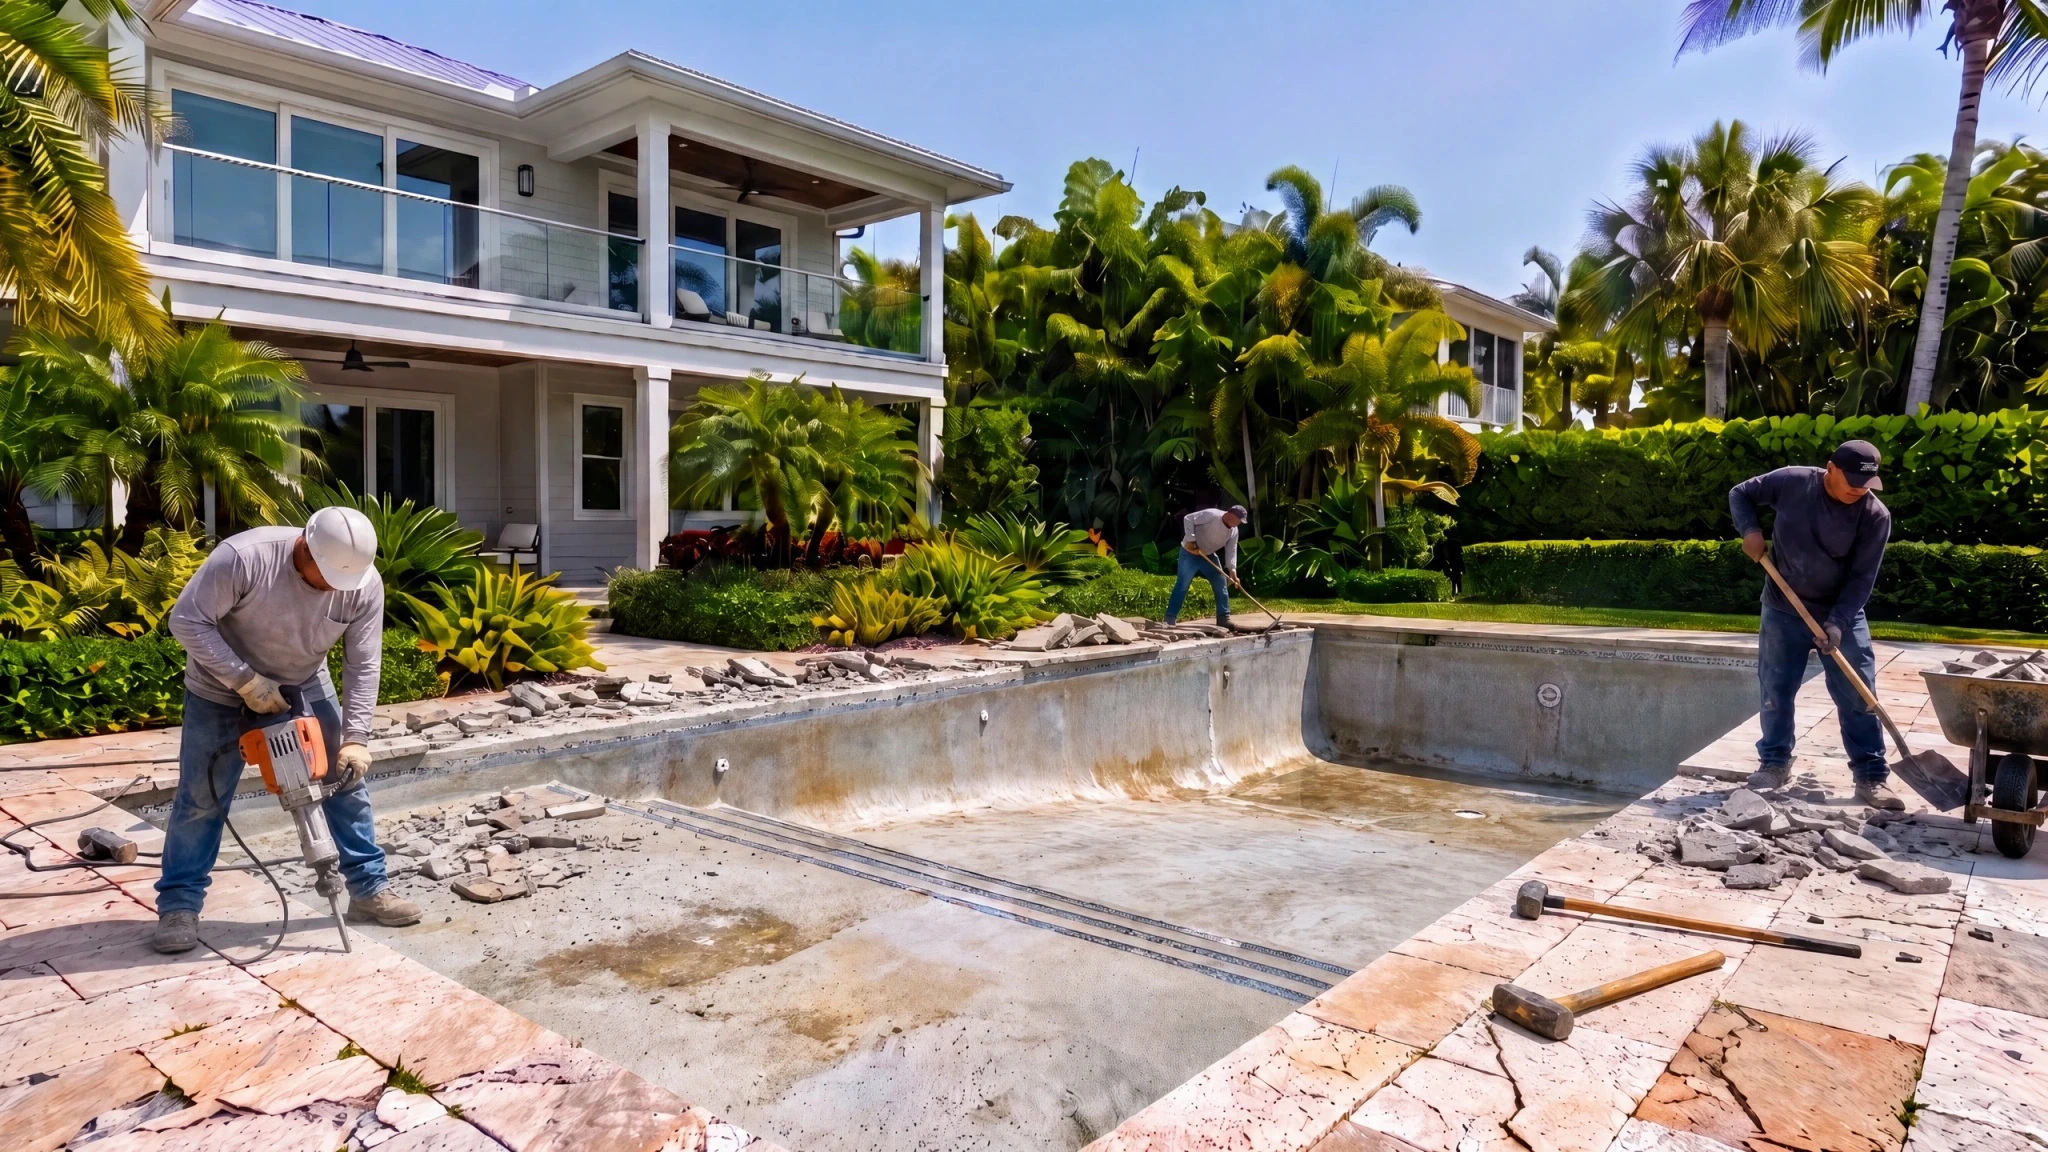
Image 3Breaking up and removing the old decking Phase 4
Shell demolition and inspection
The old finish comes out and the structure is checked.
- Old interior finish removed
- Waterline tile and old coping taken out
- Shell inspected for cracks, delamination and leaks, then repaired
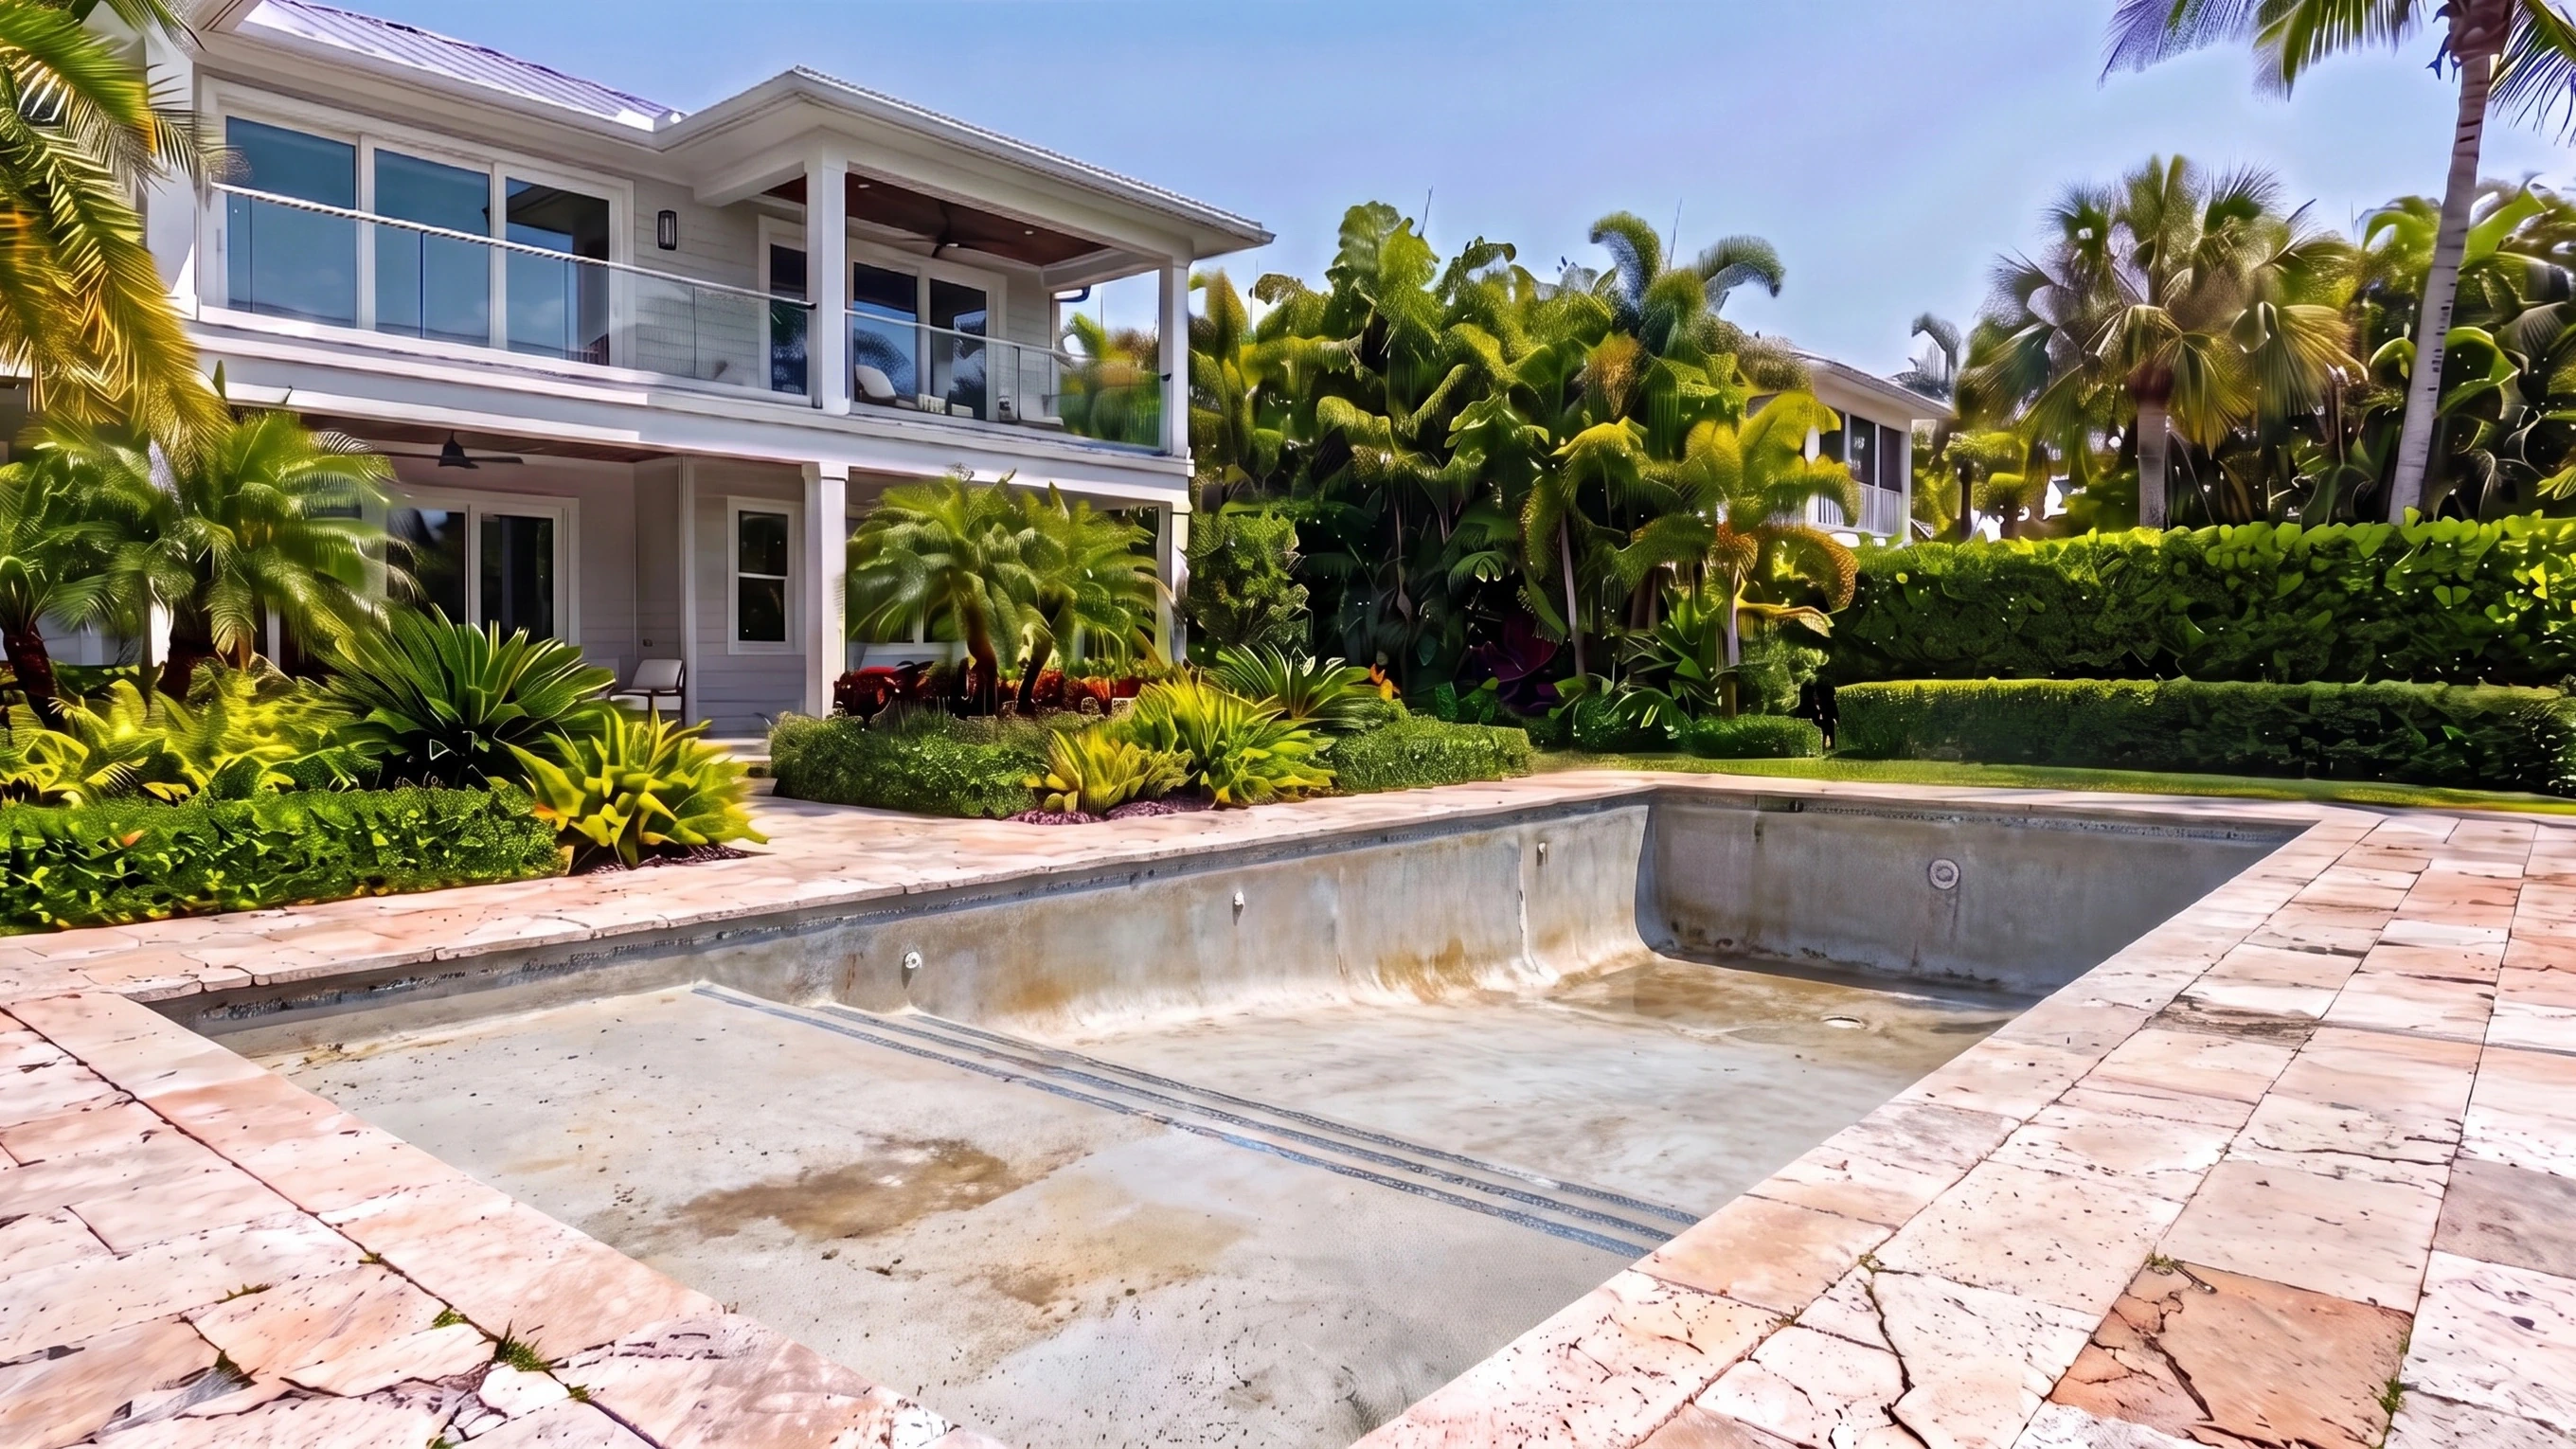
Image 4AOld interior finish removed for inspection 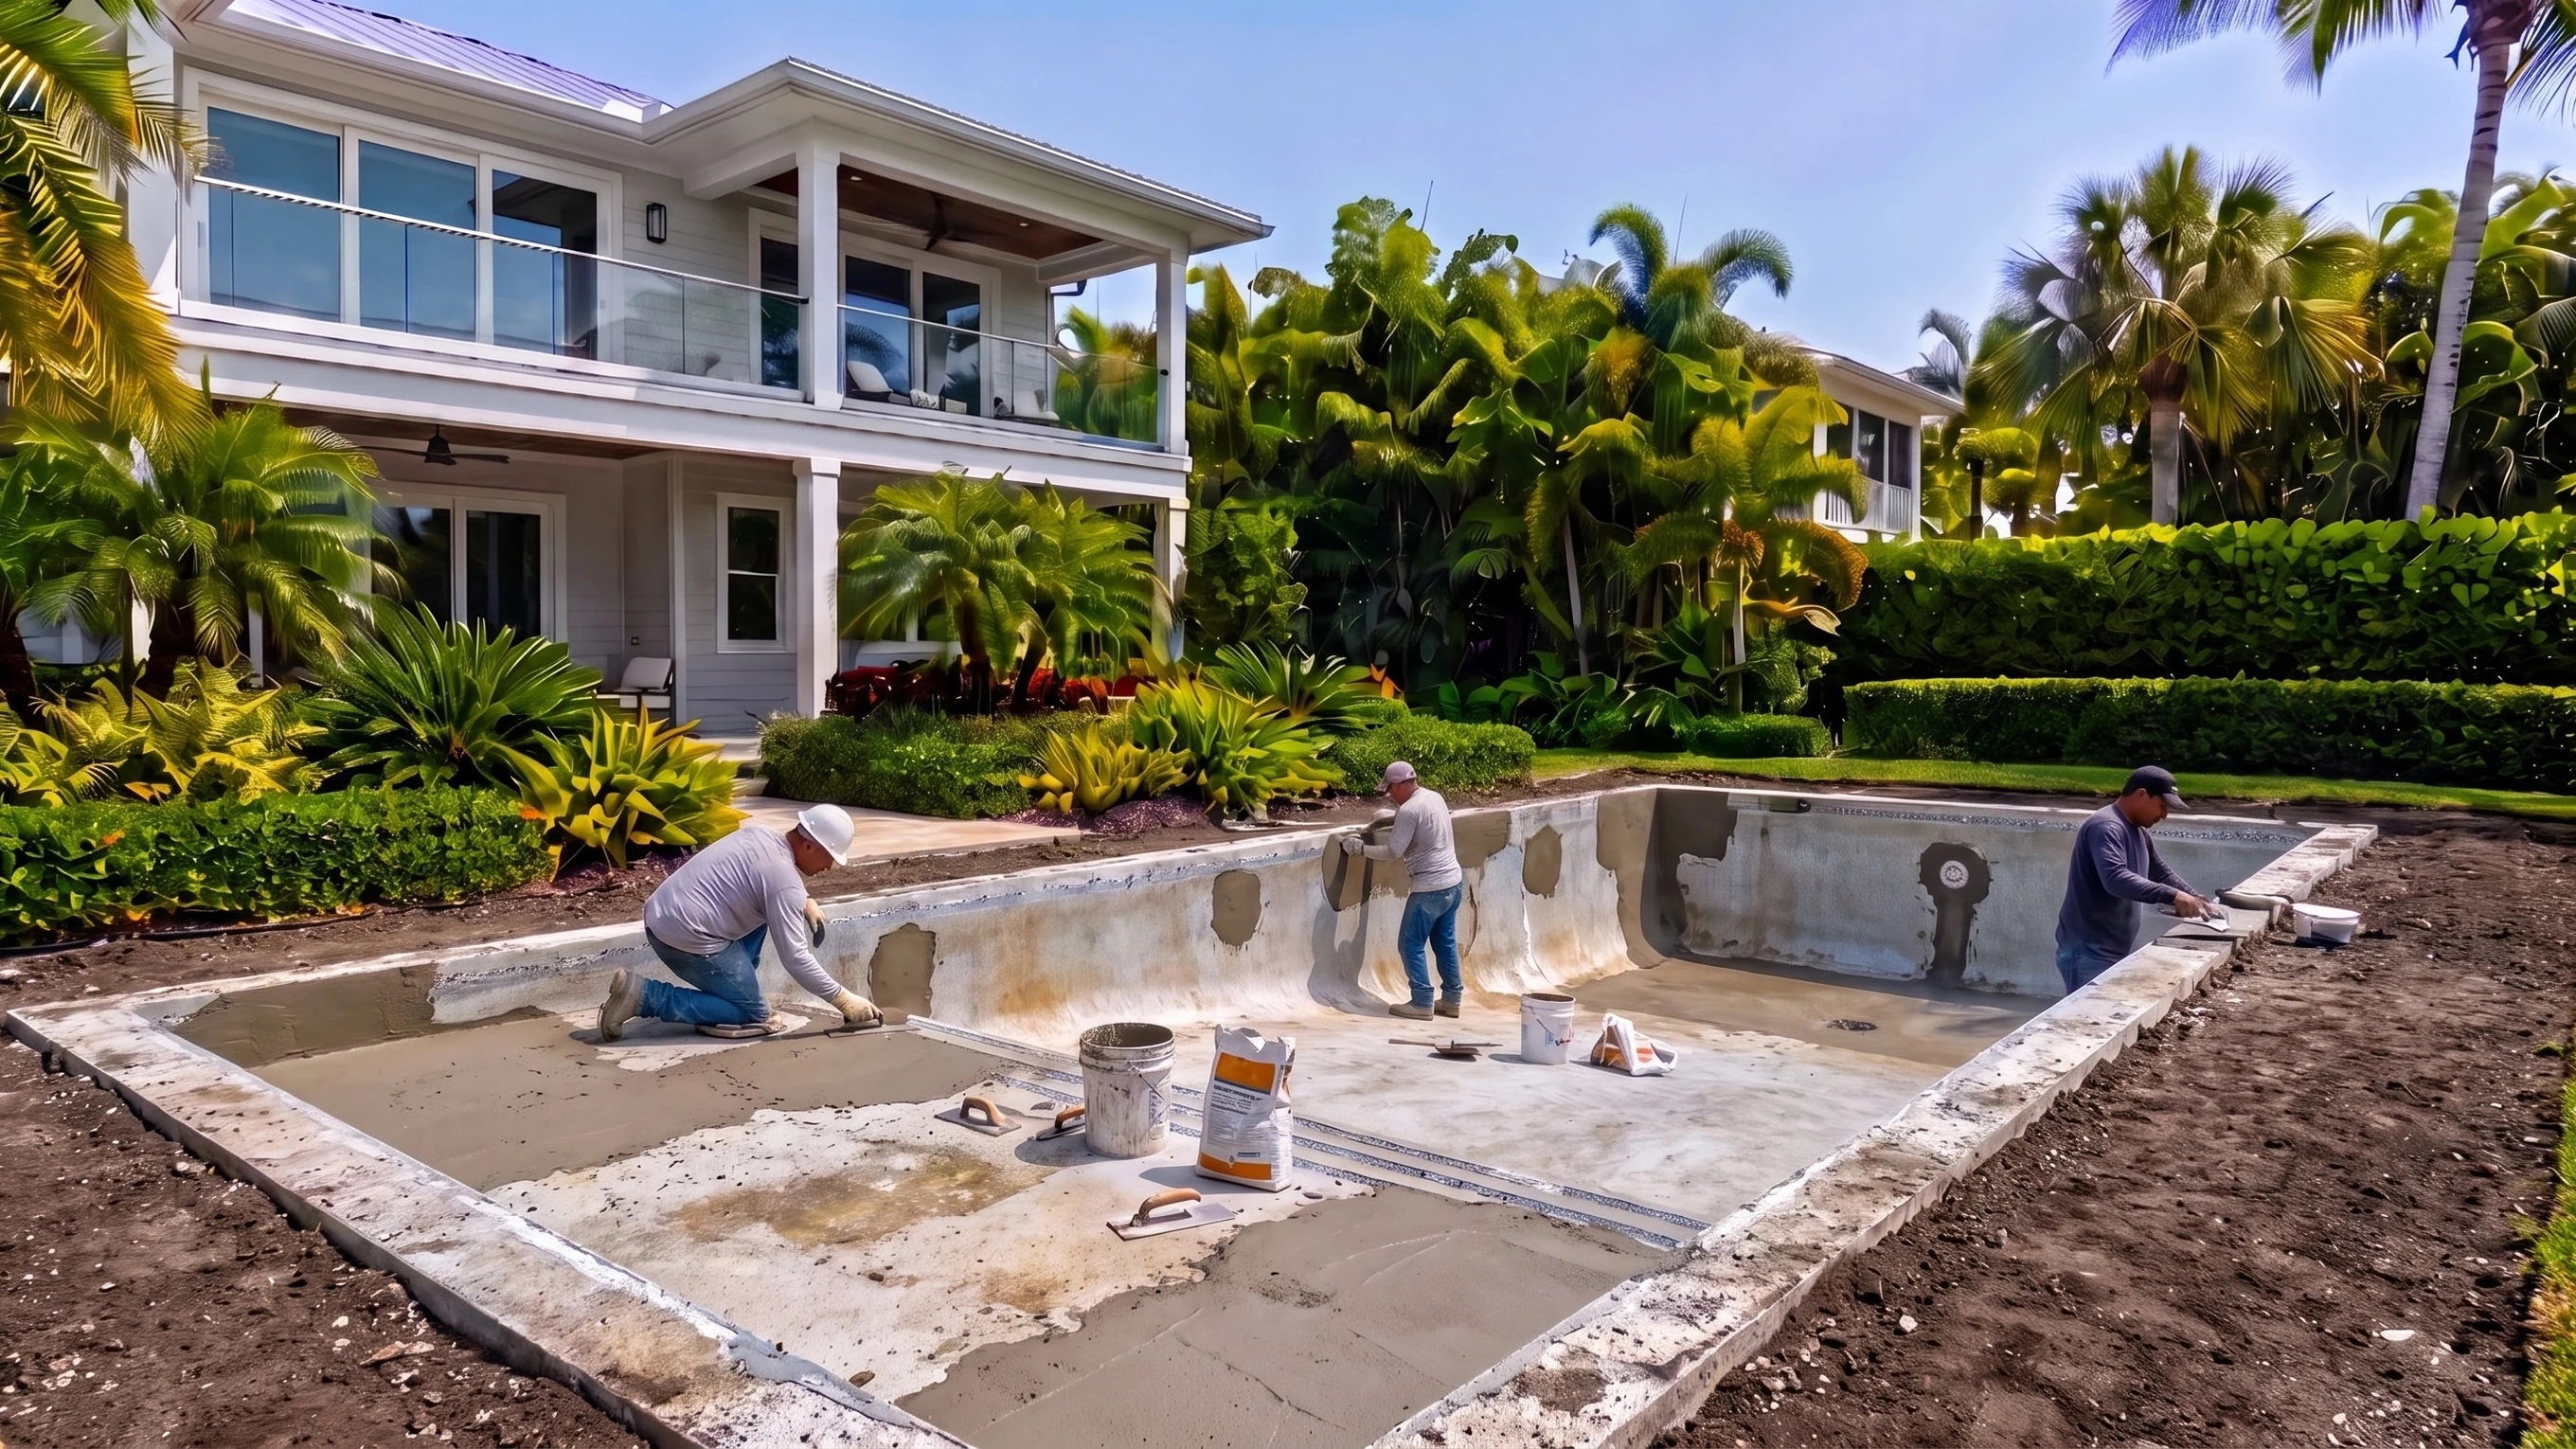
Image 4BPatching and preparing the pool interior Phase 5
Waterfall wall construction
A raised wall with water features, built in two stages.
- Reinforced footing and block wall at the pool edge
- Dedicated plumbing, spillway lips and optional lighting
- Plumbing pressure tested before it is concealed
- Electrical bonding and grounding to code
- Stone veneer and cap finish the face
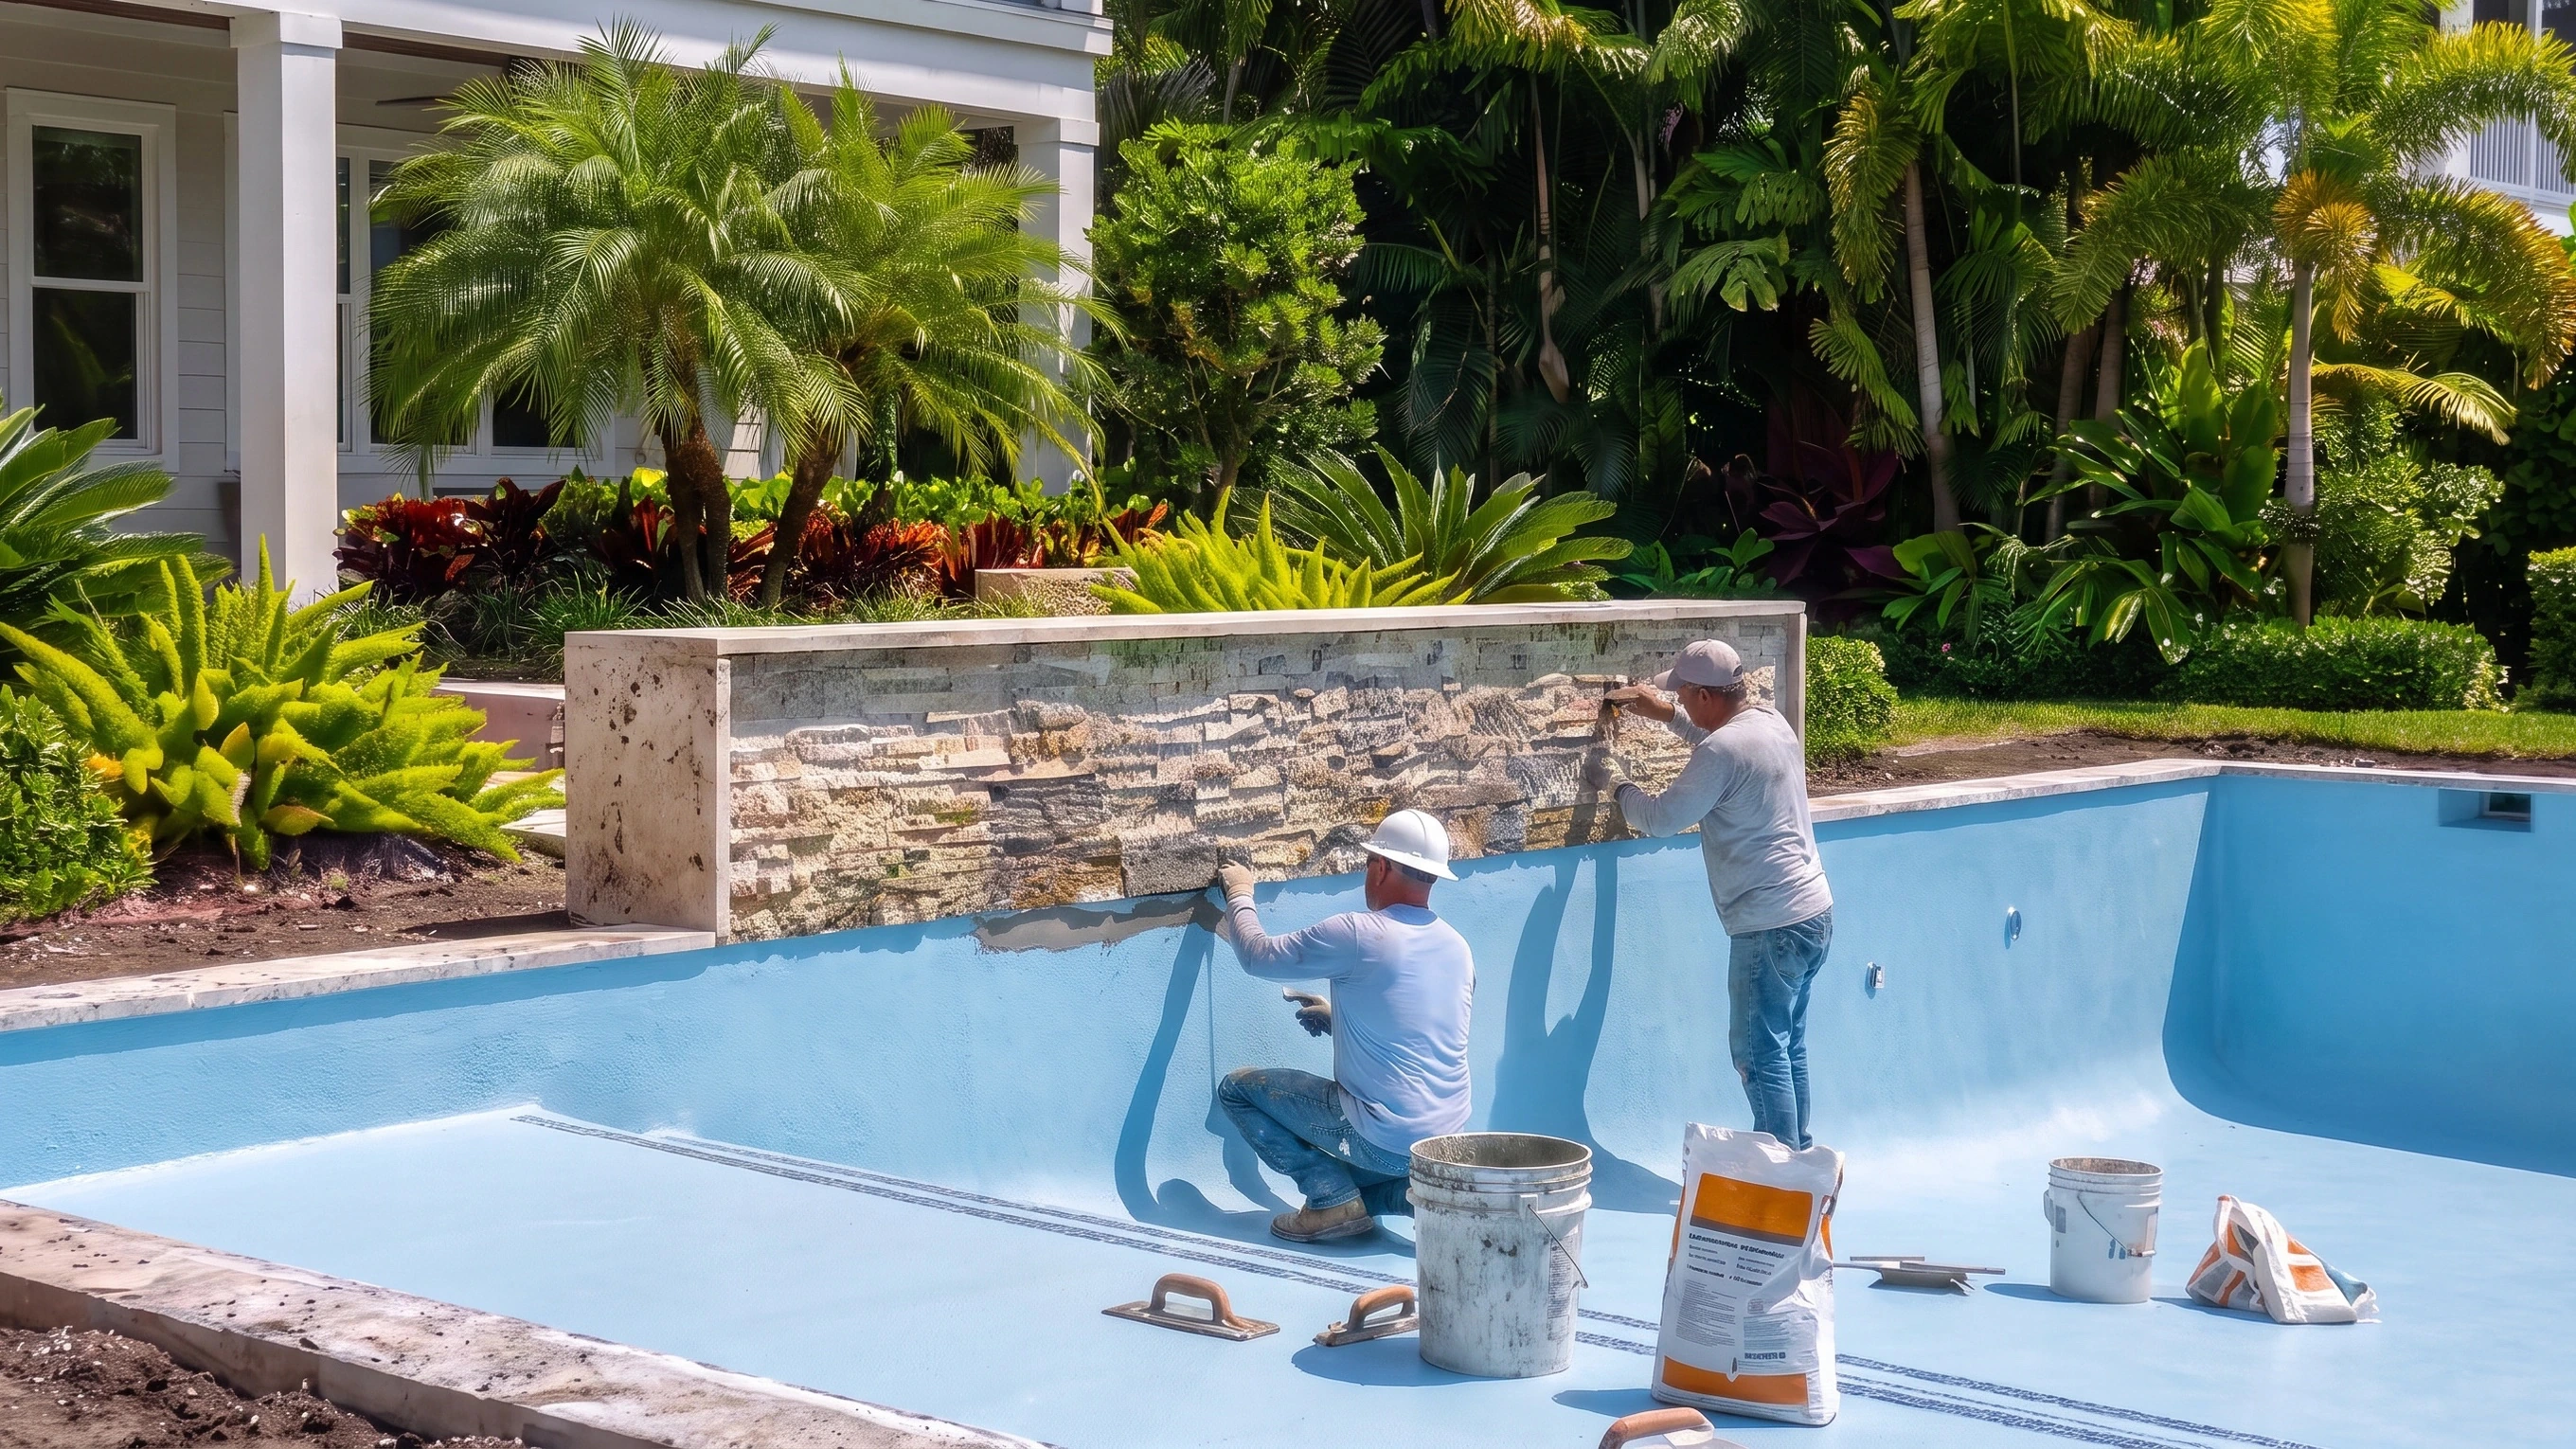
Image 5Installing the stone veneer on the raised waterfall wall Phase 6
Shelf preparation
The shallow shelf is readied for in-water furniture.
- Shelf surface leveled and prepared
- Water depth set to the lounger manufacturer specification
- Mounting or weighting planned per product
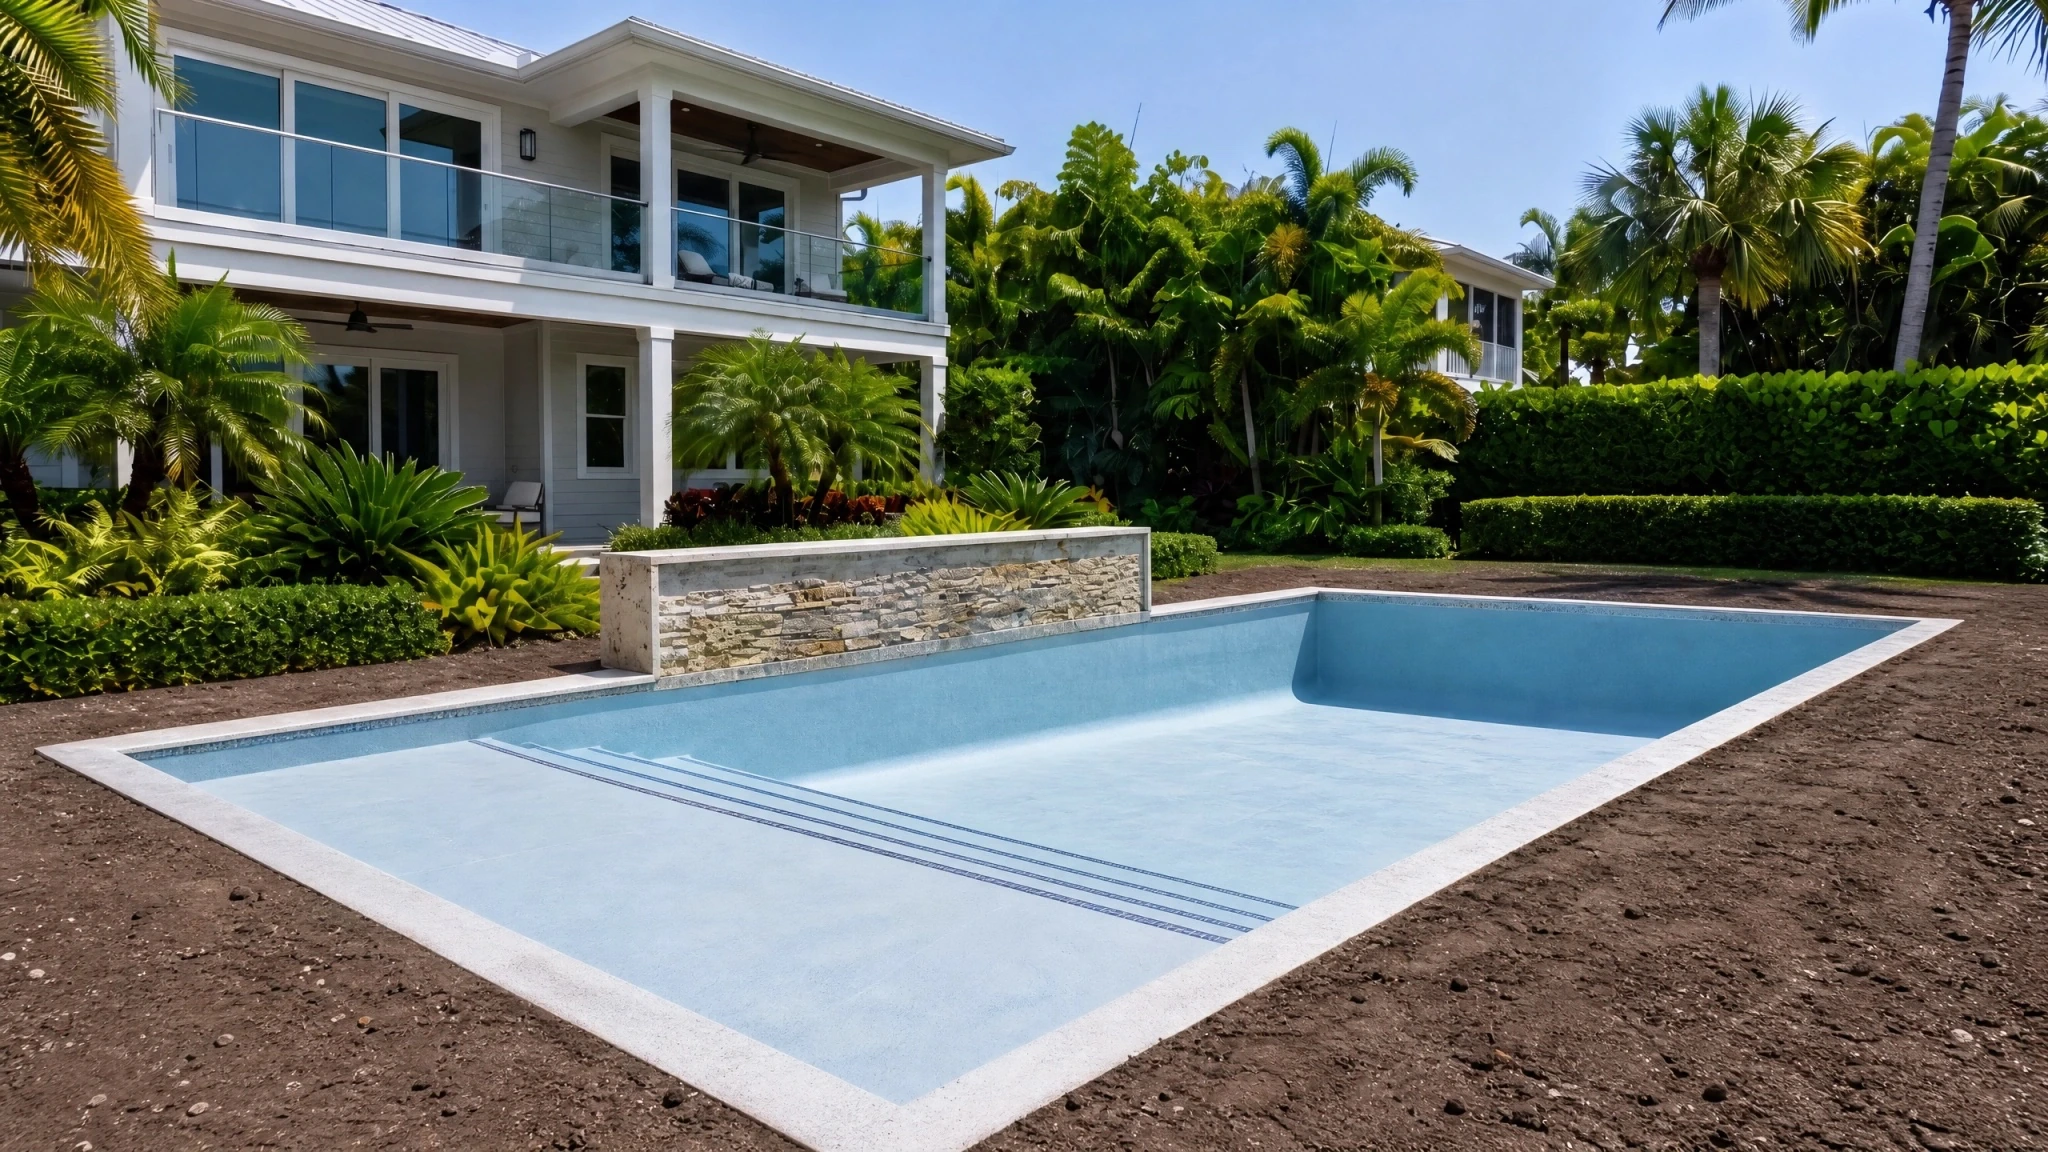
Image 6Prepared shallow shelf for in-water loungers Phase 7
New coping and deck
The biggest visual change around the water.
- New coping set around the pool edge
- Pavers laid with expansion joints and consistent slope
- Grout and edge details finished
- Sealer applied once cured
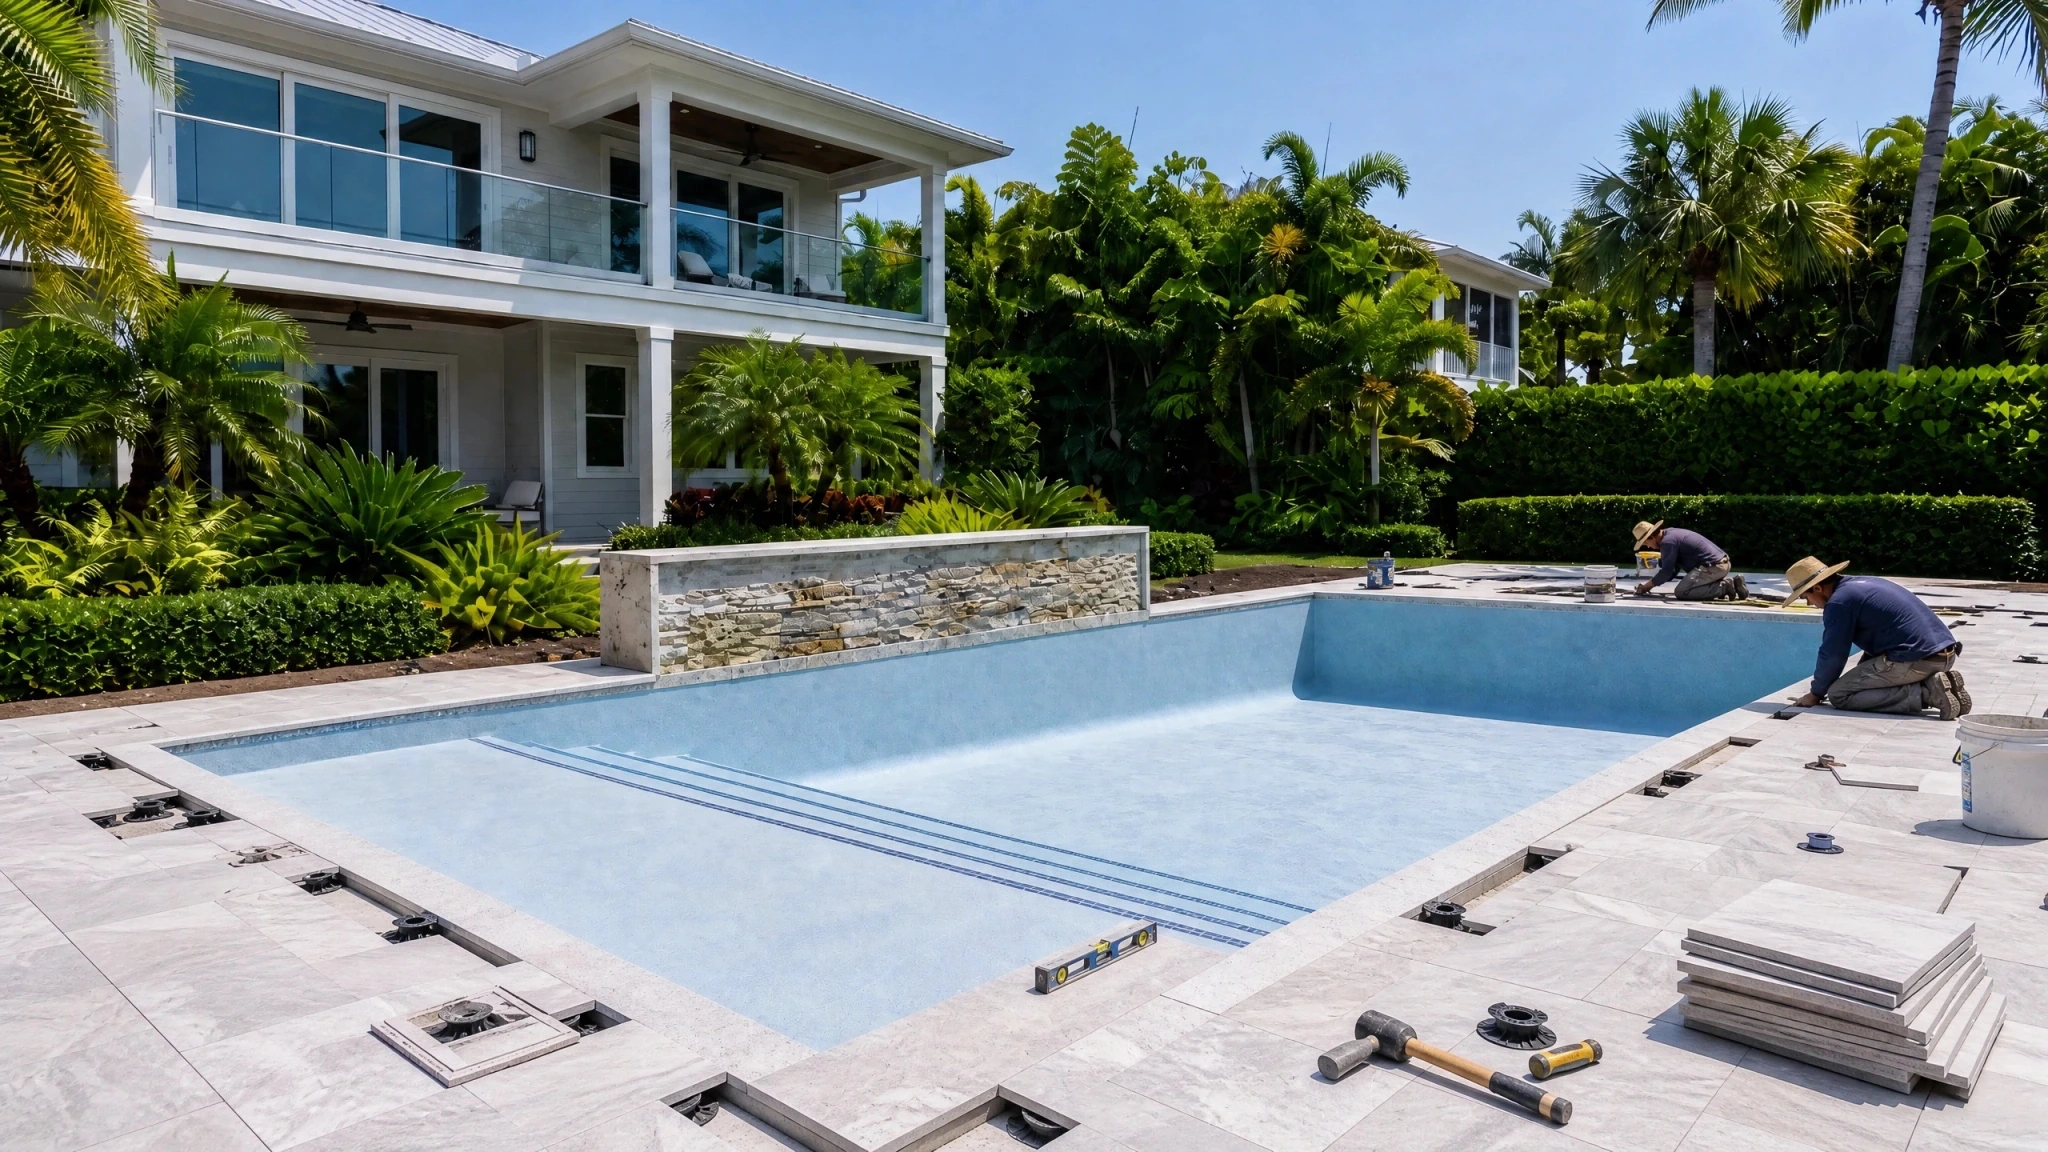
Image 7Aligning pavers and completing the deck details Phase 8
Interior finish and pump setup
The new finish transforms the pool, while the equipment supports clean, circulating water.
- New waterline tile and the selected interior finish installed
- Pump and filter checked and upgraded as scoped: the pump circulates water and the filter removes debris
- Sanitizing system confirmed for your pool; a saltwater chlorine generator is one option
- Plumbing and valves arranged for the planned circulation and water features; skimmers collect surface debris and return fittings send filtered water back into the pool
- All new plumbing pressure tested before concealment and finish; equipment installed to local codes and manufacturer requirements
Equipment selection and plumbing layout depend on your pool and are confirmed in your remodel plan.
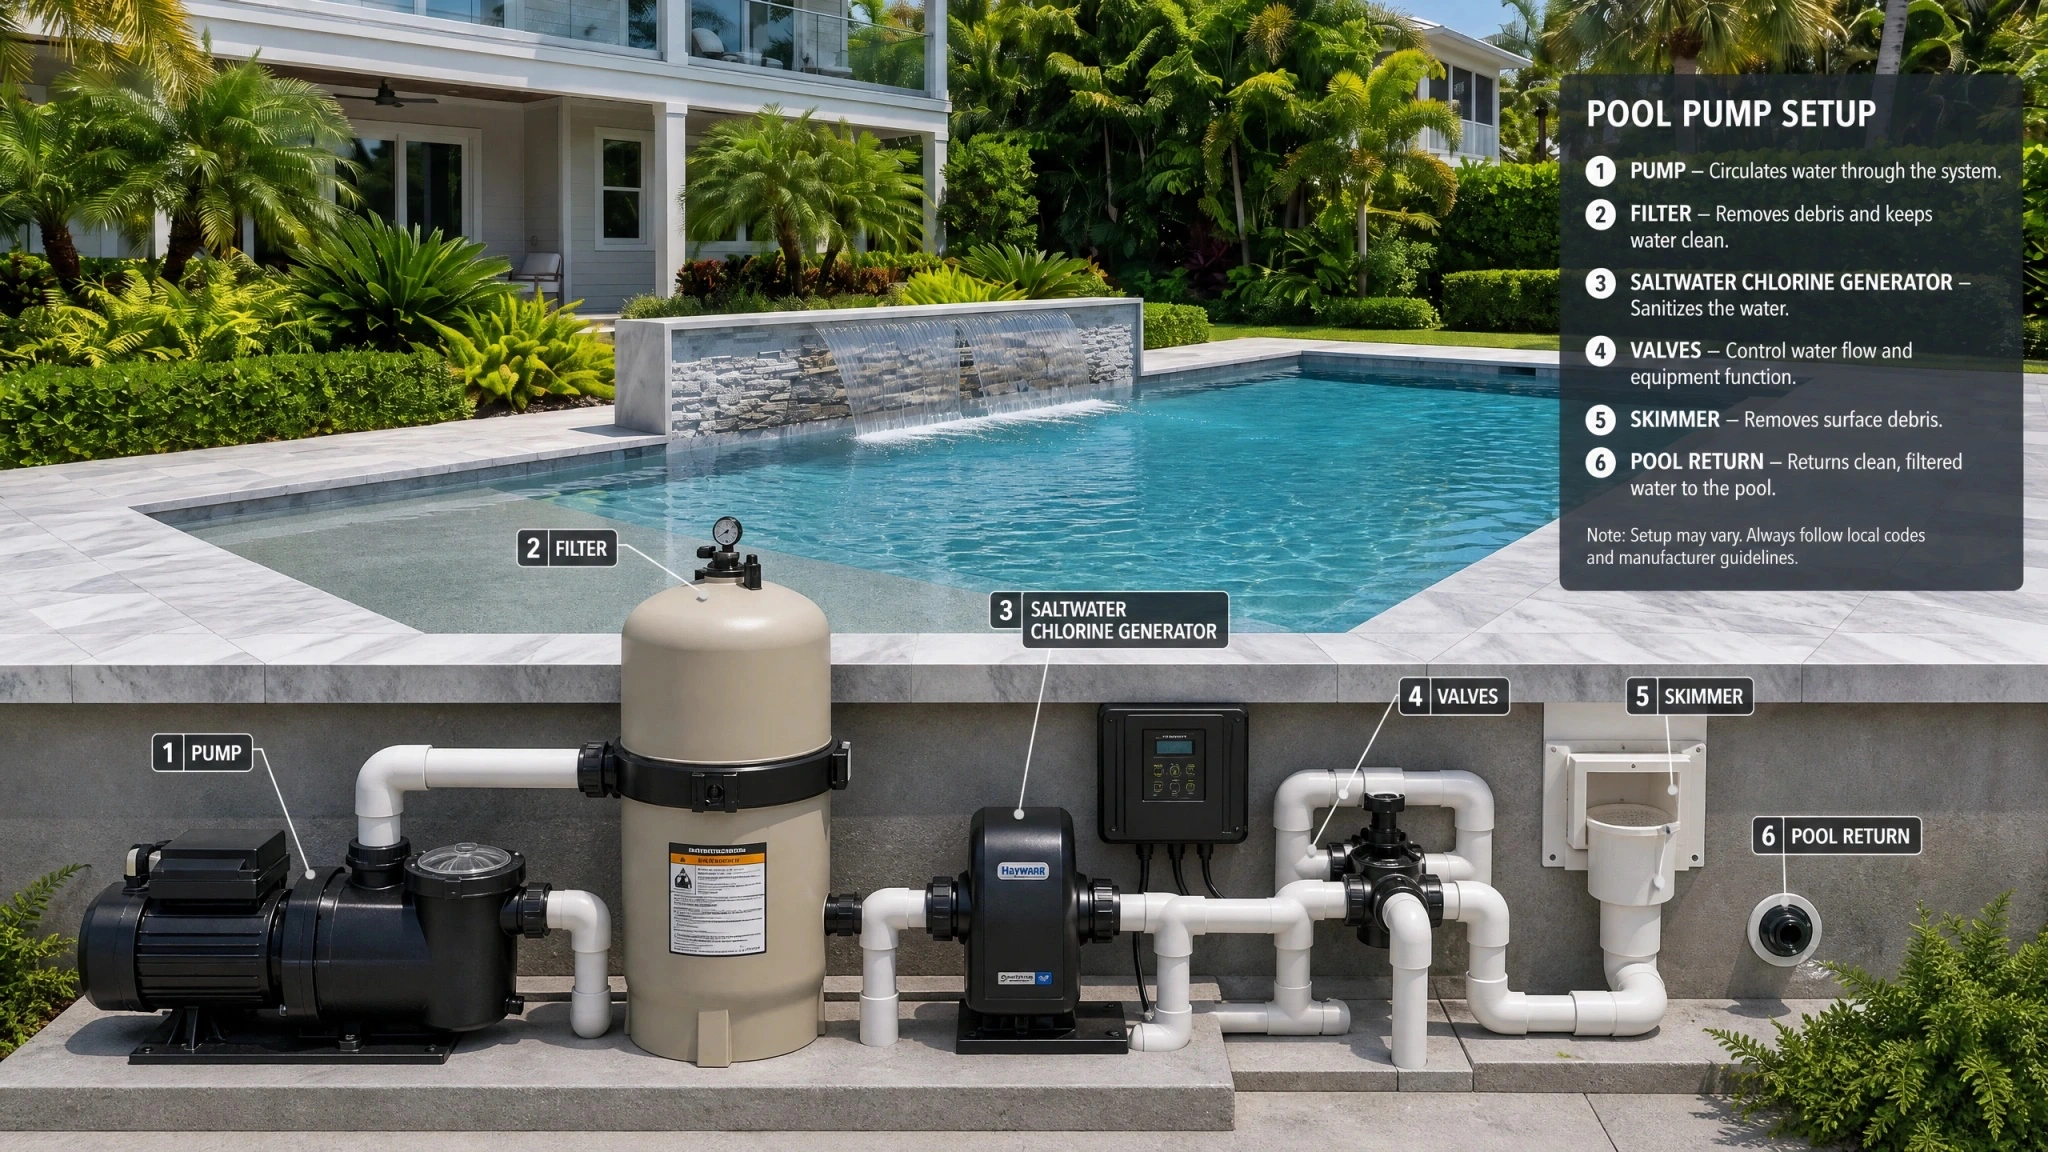
Image 8Pump, filter, sanitizer and water-flow components supporting the remodeled pool Phase 9
Refill and startup
Filling and the first weeks follow your finisher.
- Pool filled steadily without stopping, to avoid finish lines
- Chemistry balanced and equipment started
- Startup care and brushing per the interior finish manufacturer
- Water features tested and flow adjusted
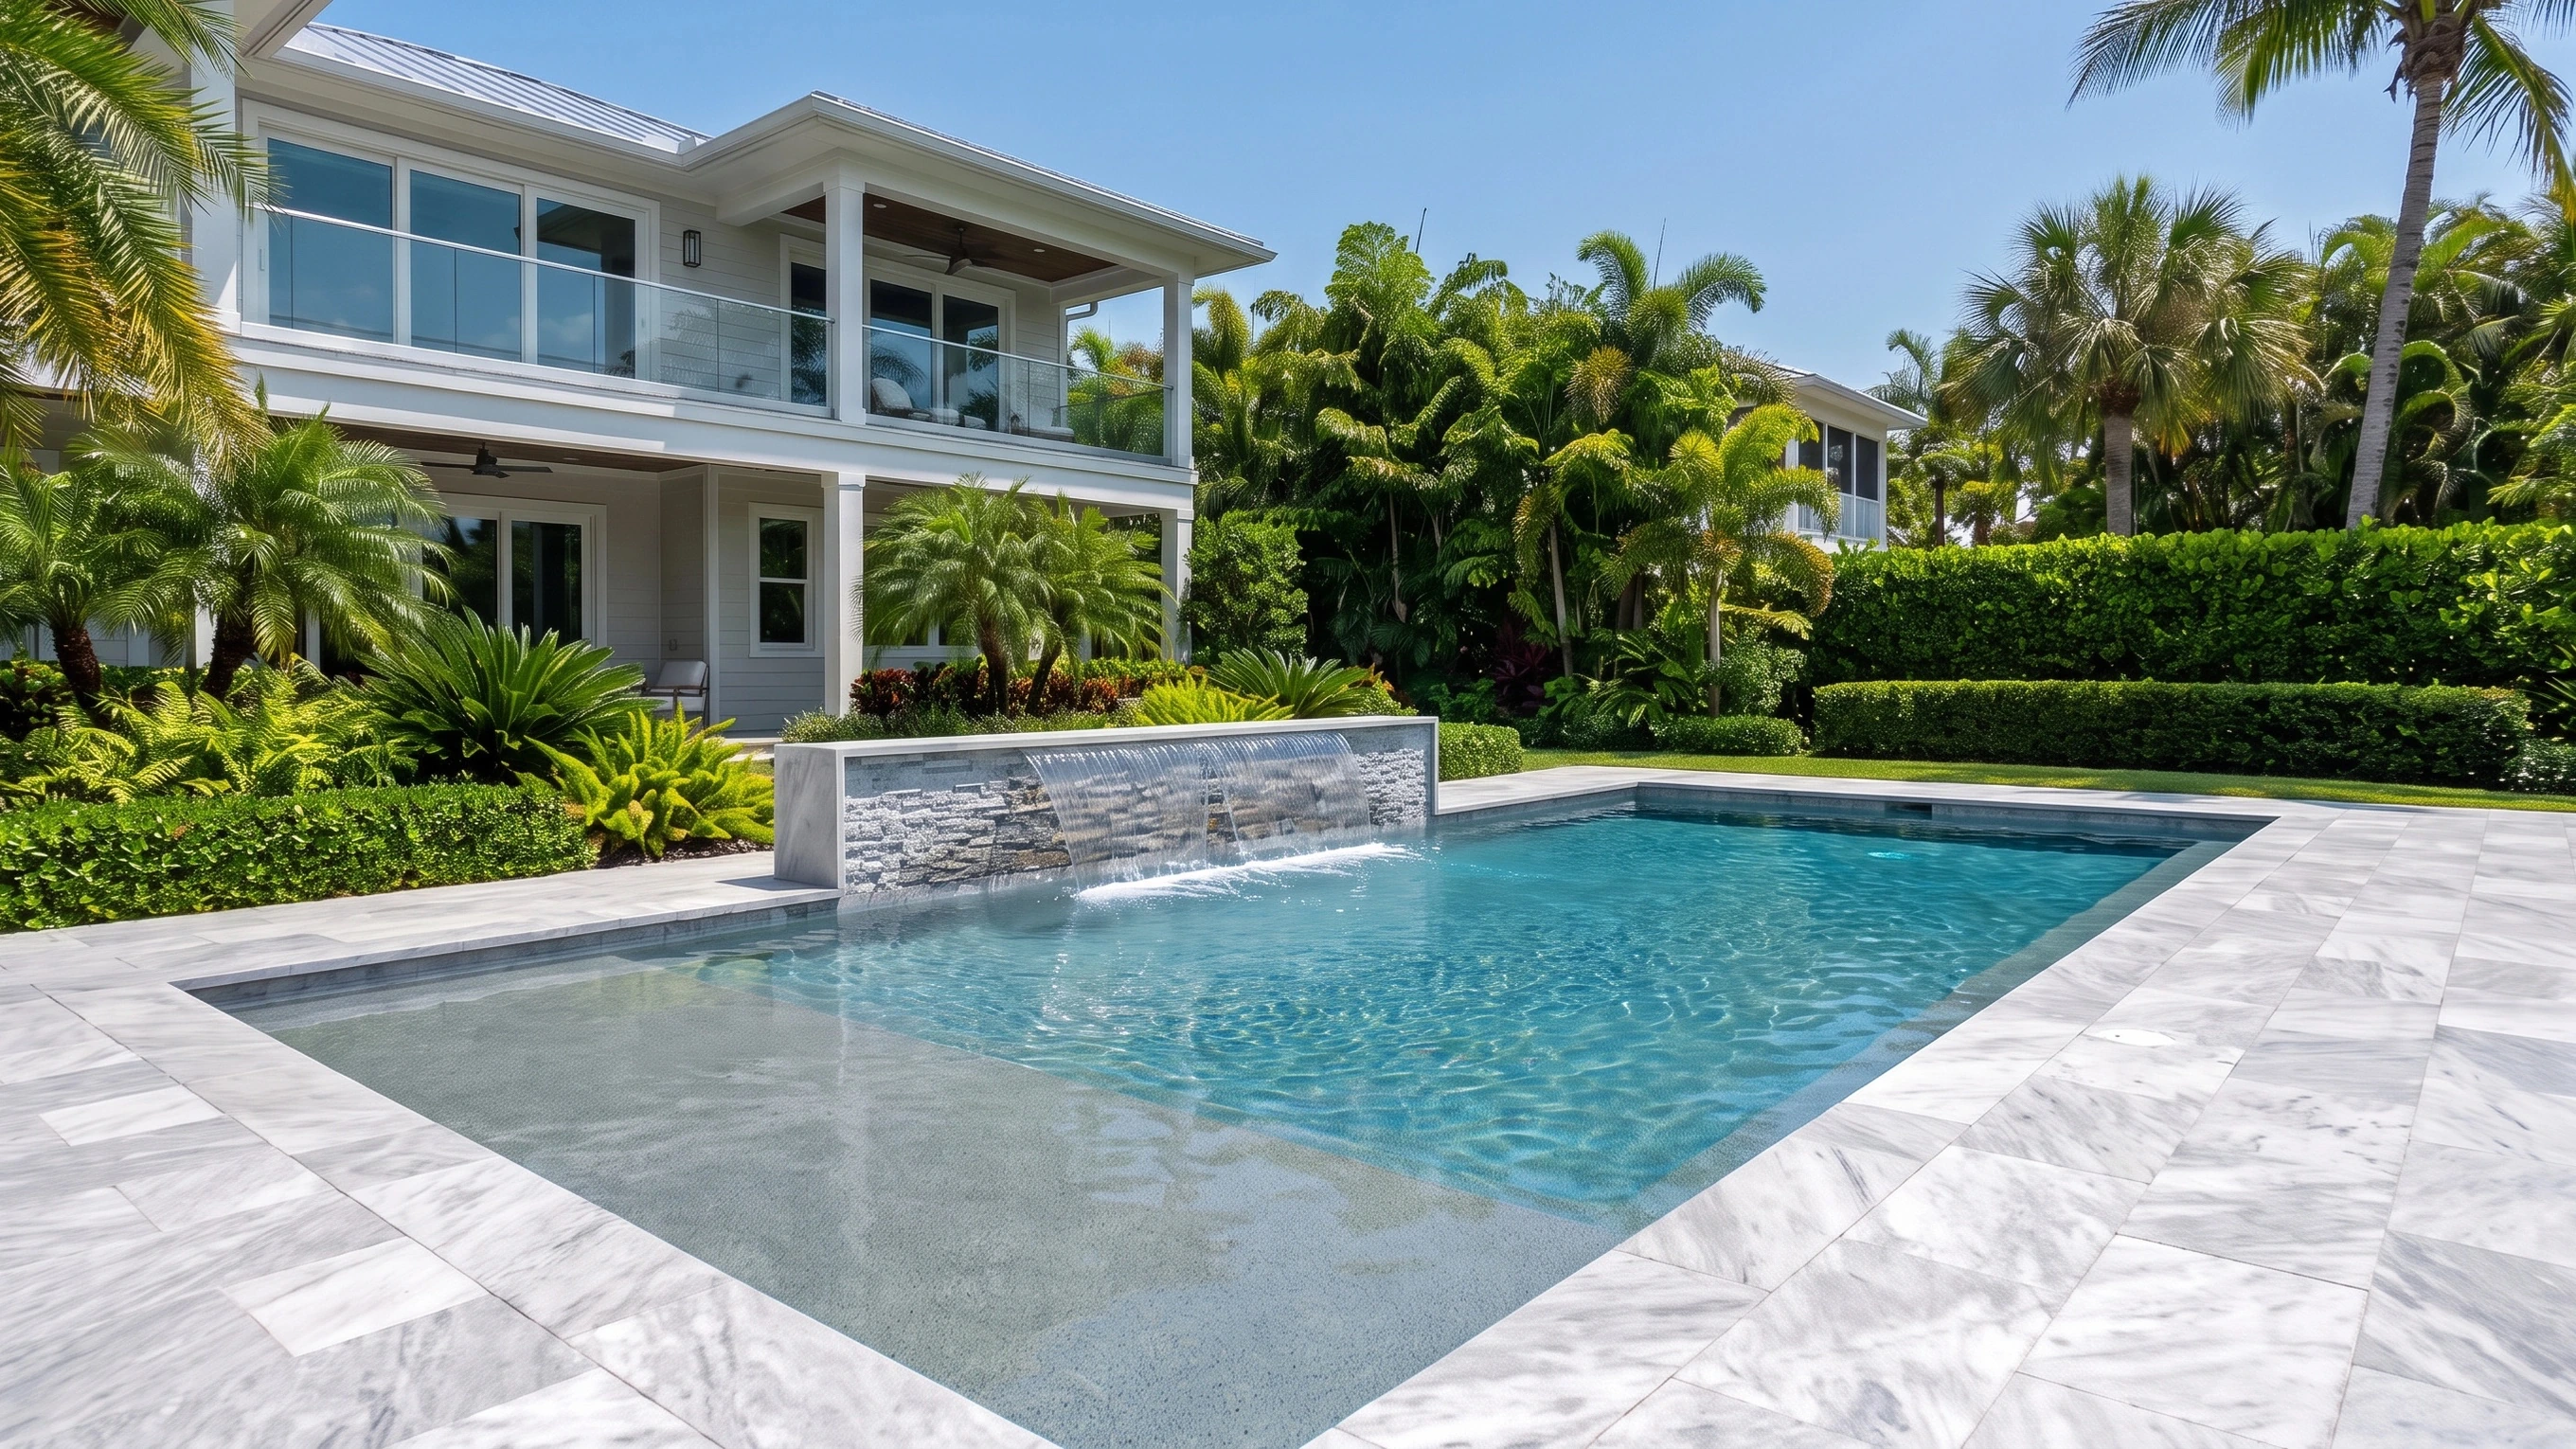
Image 9Clear water with the waterfall wall running, before furnishings are added Phase 10
Furnishings, landscaping and final styling
The walkthrough, then the finished backyard.
- In-water and deck furniture placed
- Landscaping trimmed and refreshed
- Final cleaning and walkthrough
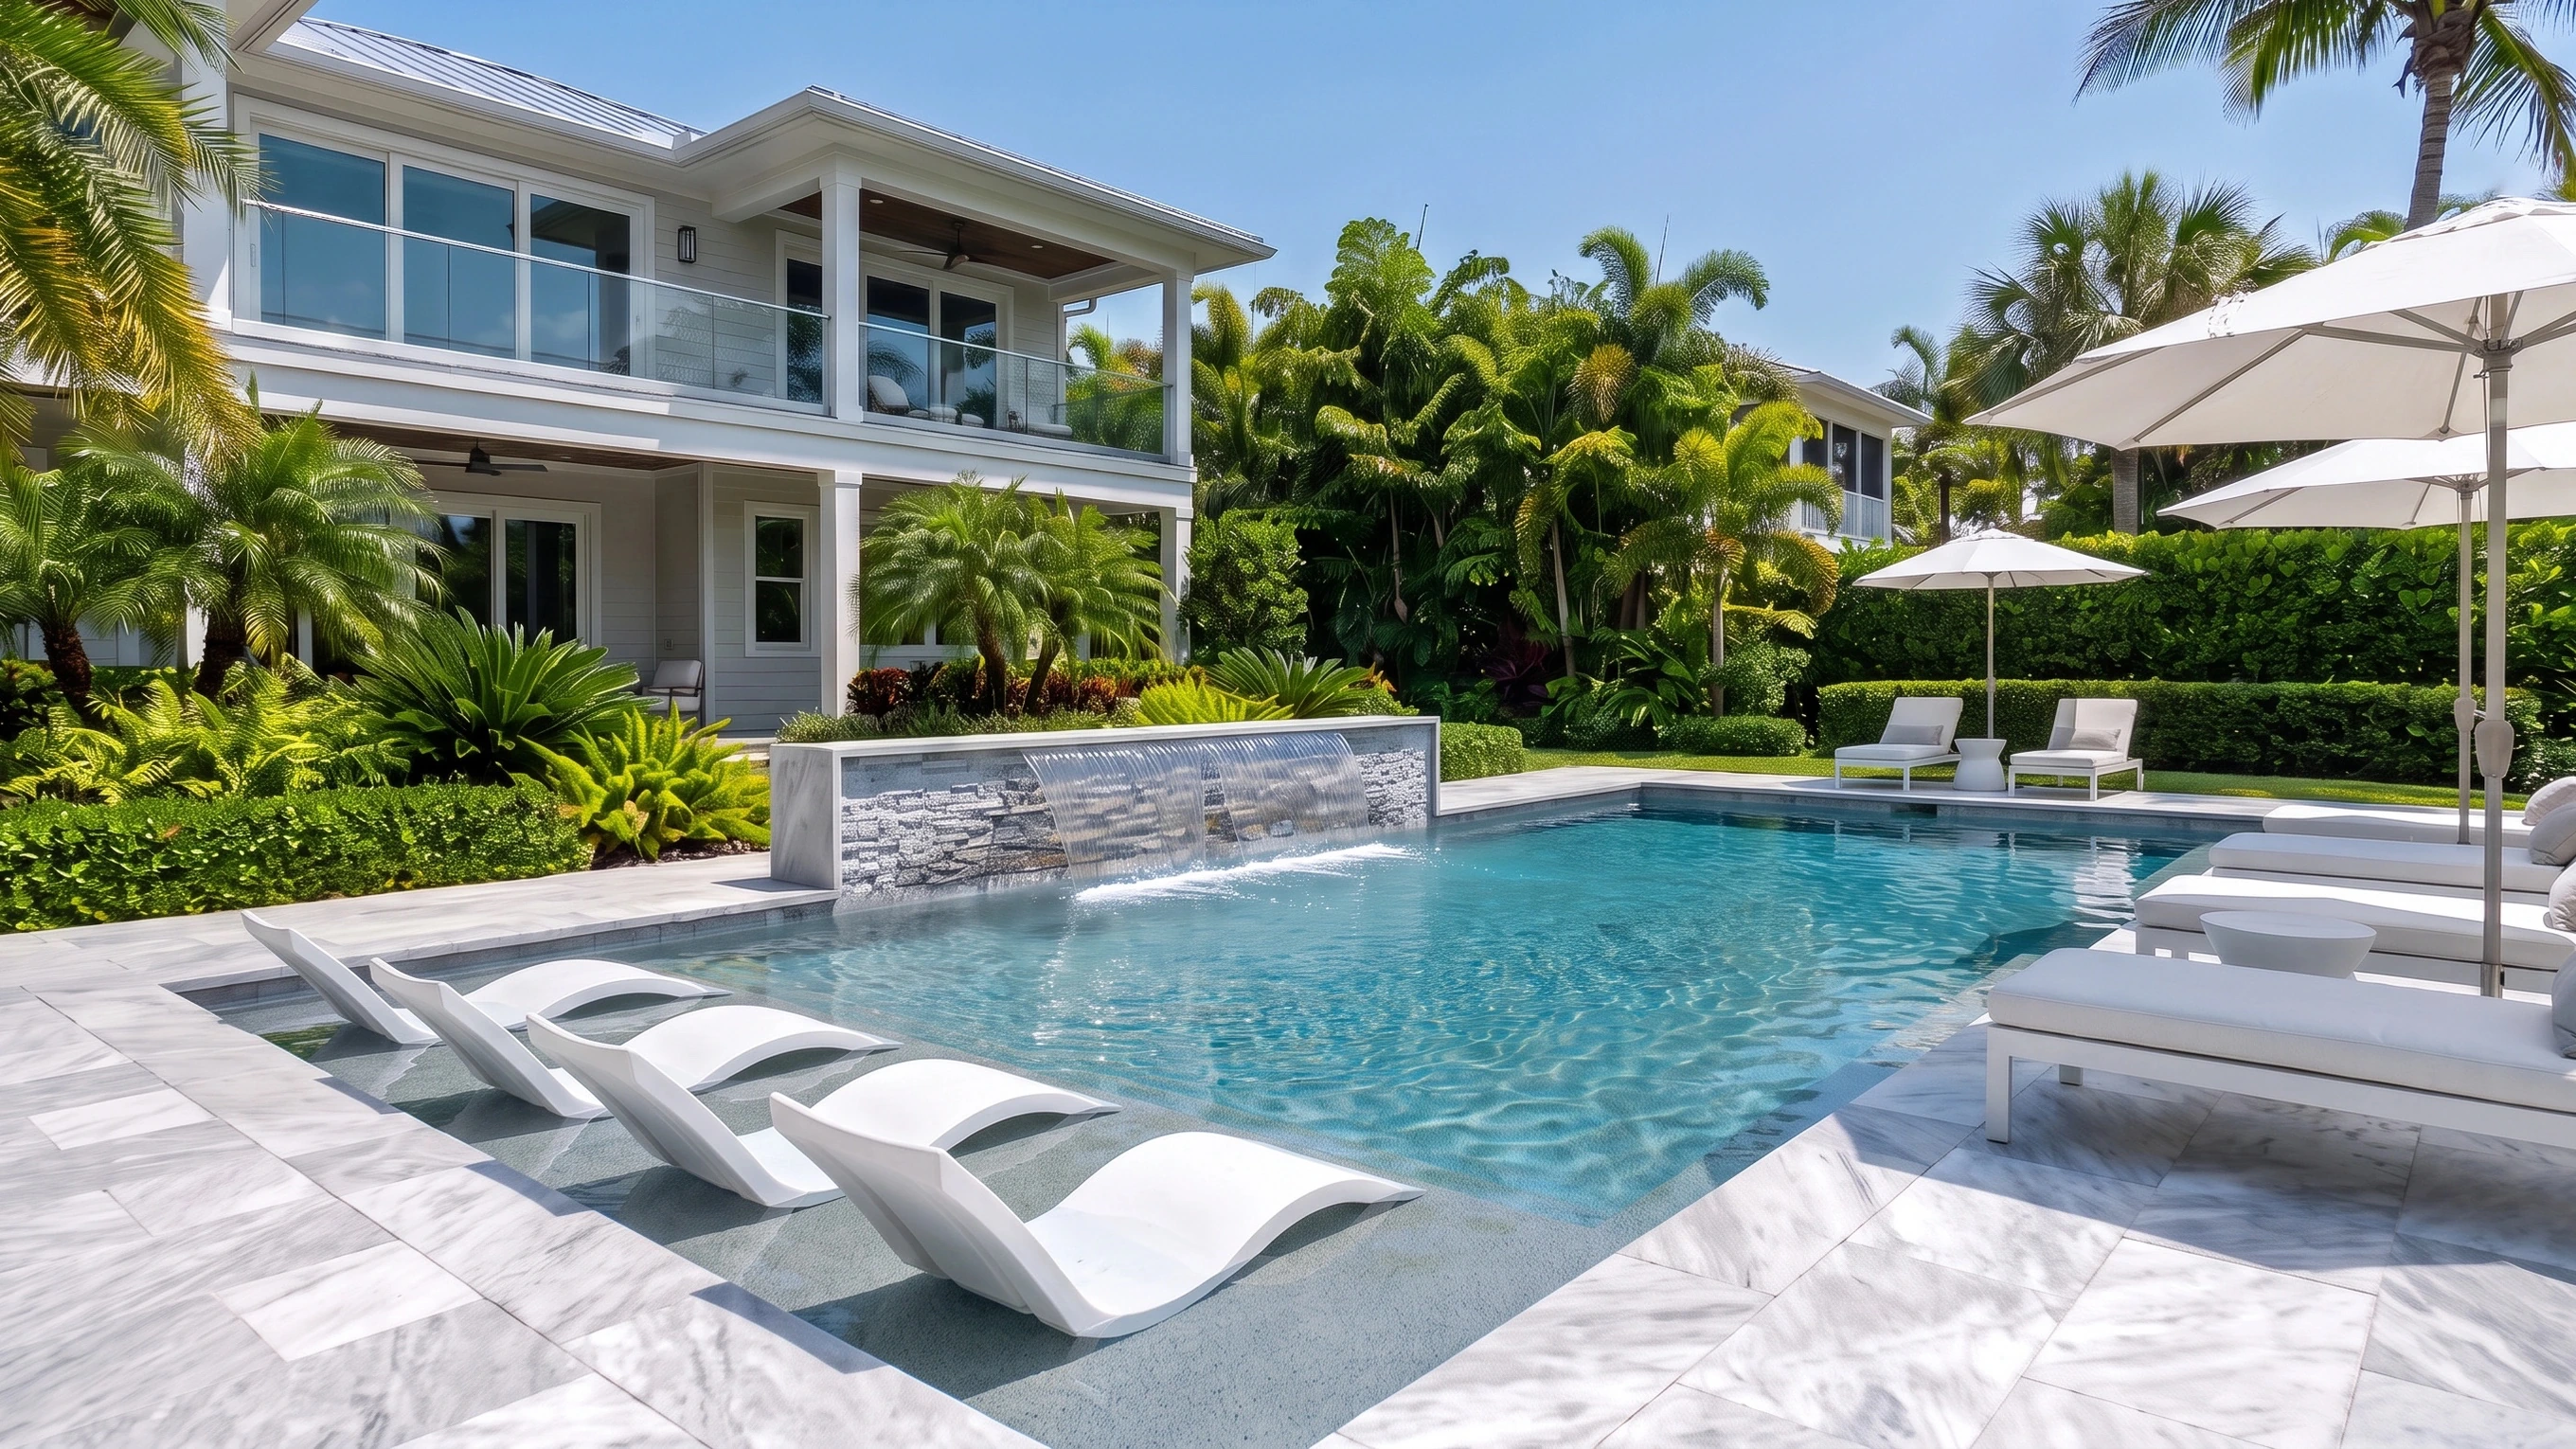
Image 10Final result
Ready to plan yours?
Equipment and finishes vary by project and are confirmed in your plan.